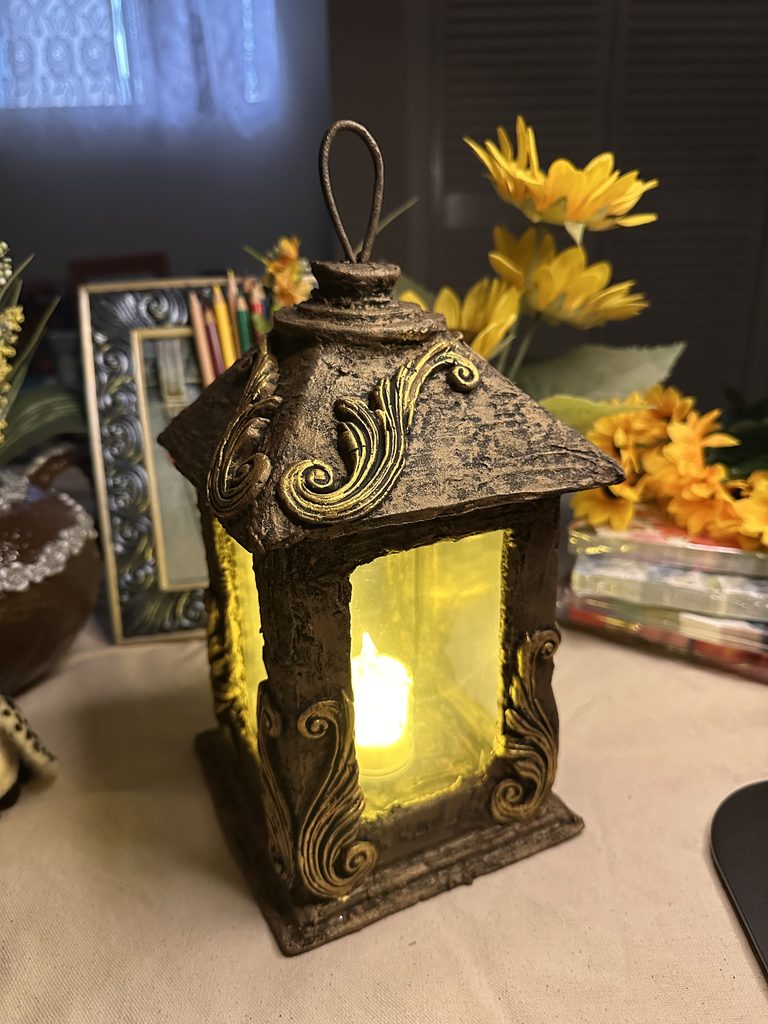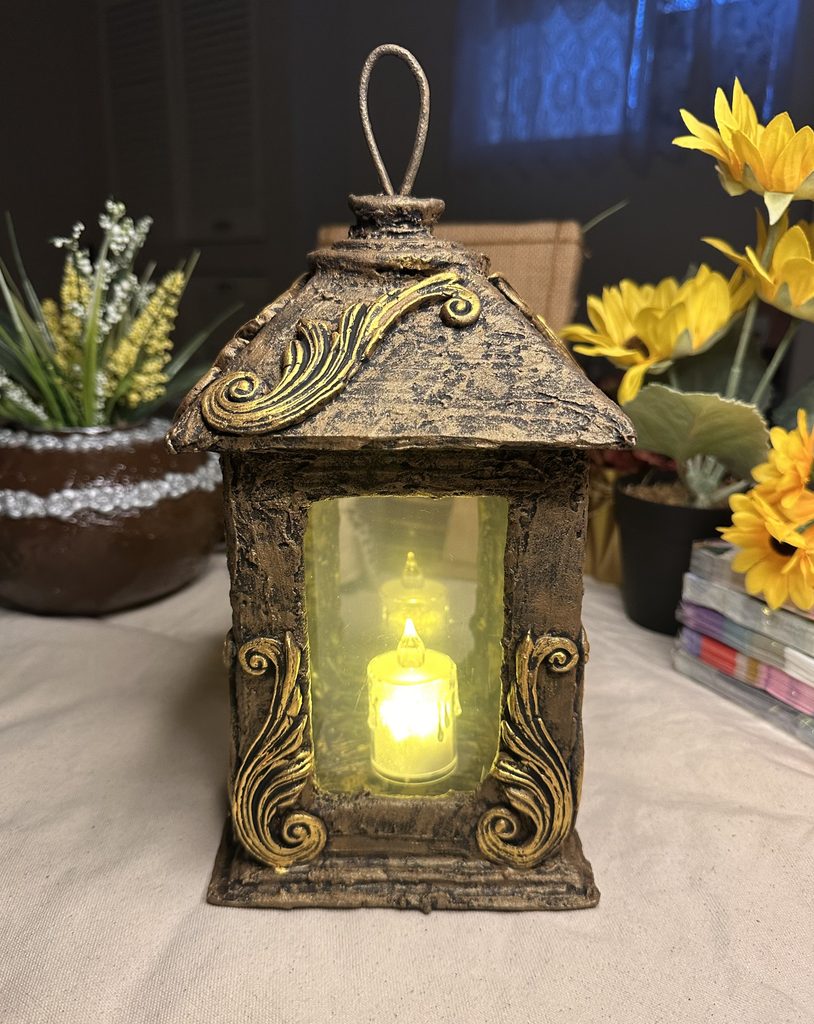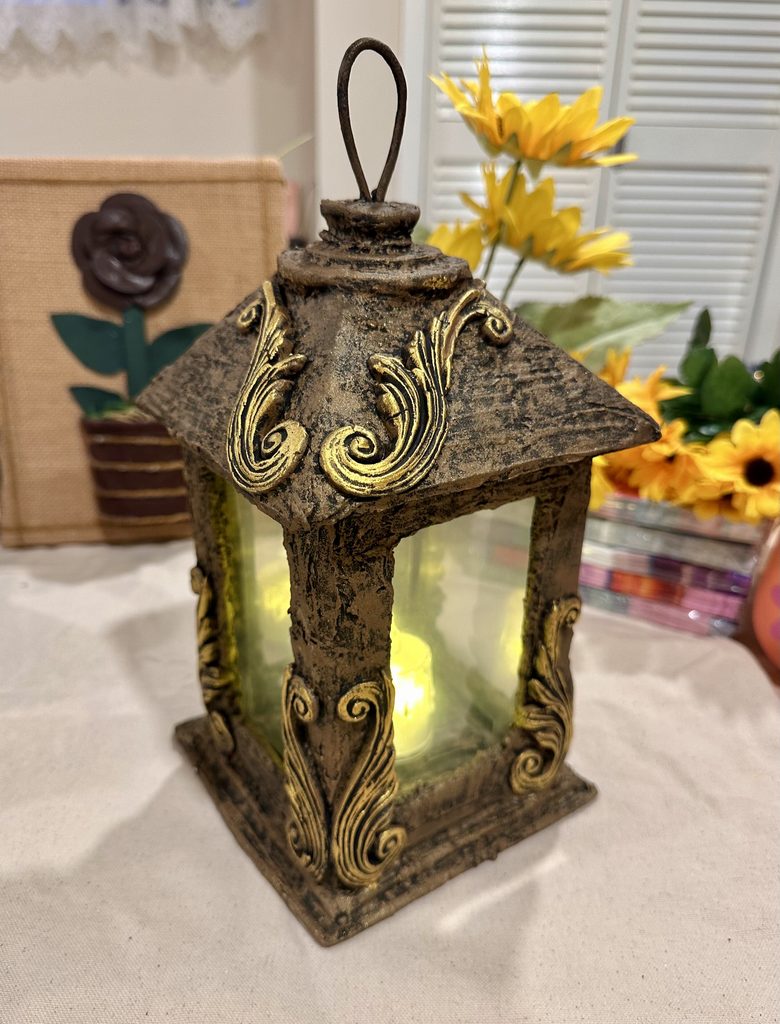
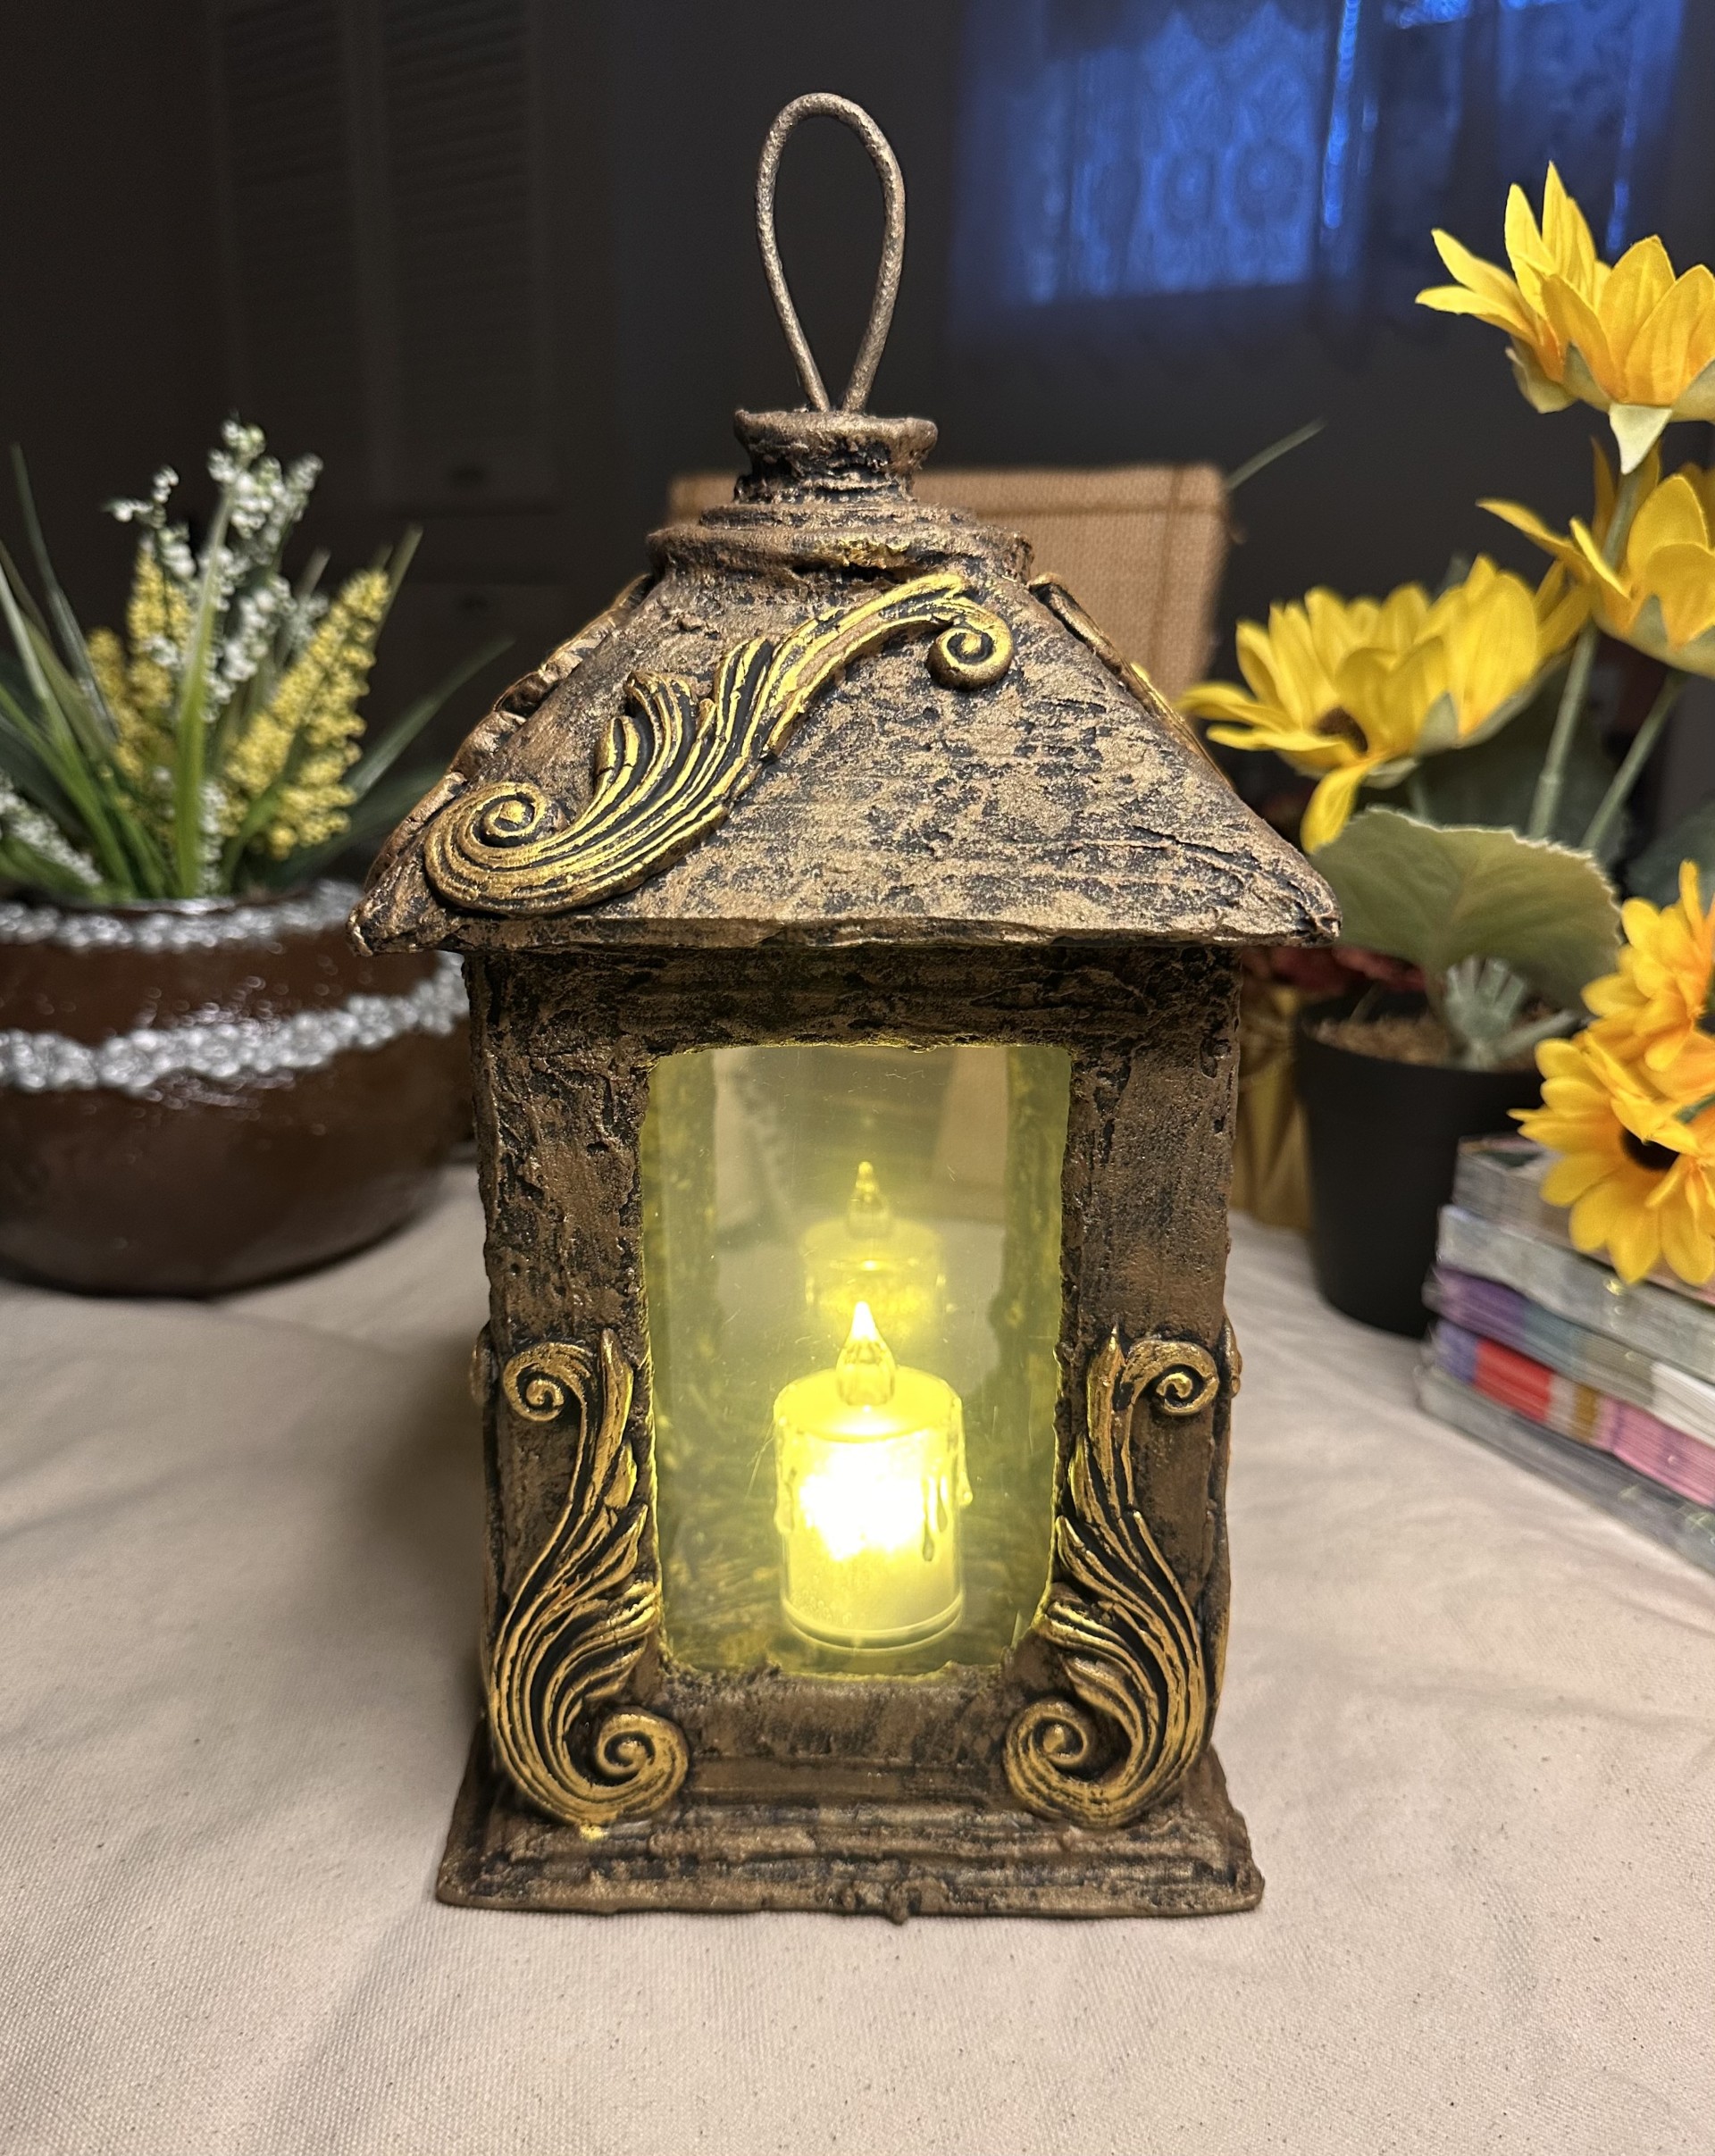
Make your own unique rustic lantern to cozy up any space!
Materials that you will need:
| Cardboard Paper towels Elmer’s glue-all Nitrile gloves For the lantern top you can use any materials you like – I used round felt furniture pads. Masking / Painter’s tape Air dry clay Decorative silicone mold Acrylic paint + Wax metallic finish Soft sponge Spackling paste, (DAP Fast’N Final Lightweight spackling) Hot glue gun Laminated sheets LED Candle Clear tape |
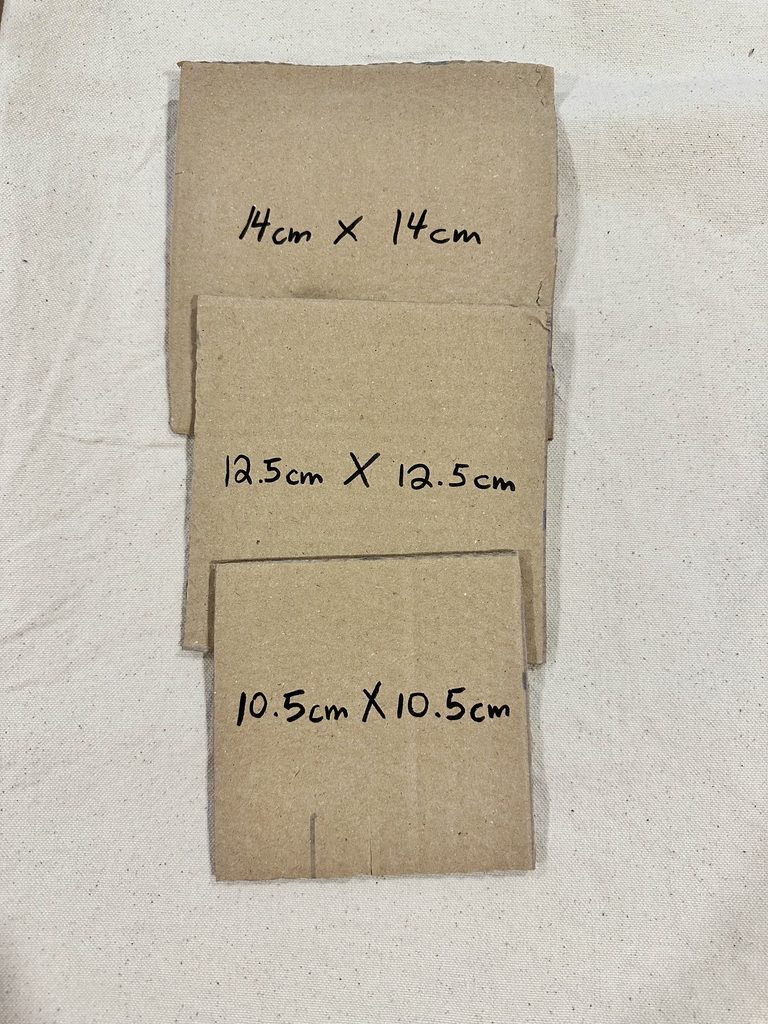
Cut 3 pieces of cardboard for the bottom of the lantern:
14 cm x 14 cm
12.5 cm x 12.5 cm
10.5 cm x 10.5 cm
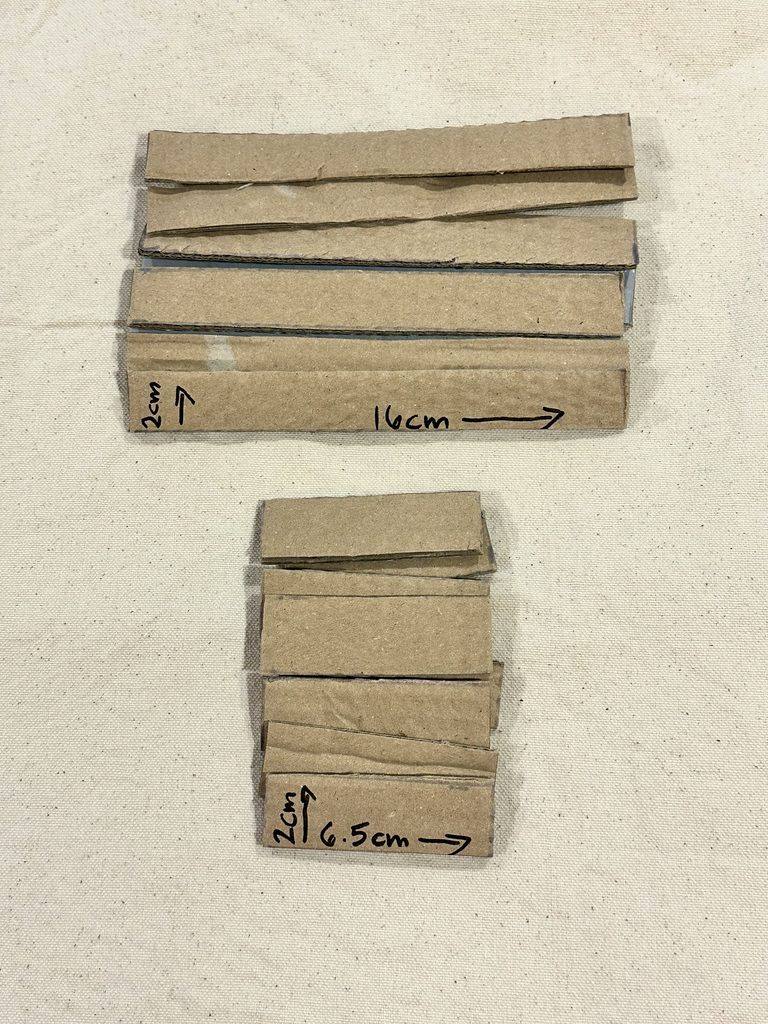
Cut 16 pieces of cardboard for the frame of the lantern:
2 cm x 16 cm
2 cm x 6.5 cm
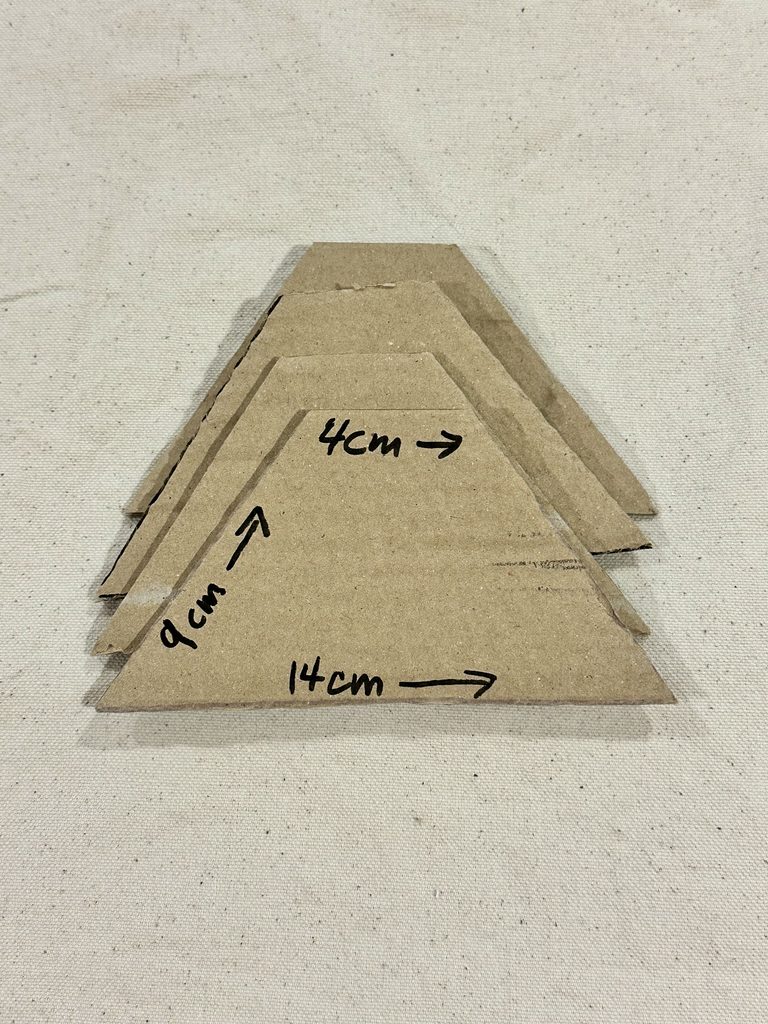
Cut 4 pieces of cardboard for the top of the lantern:
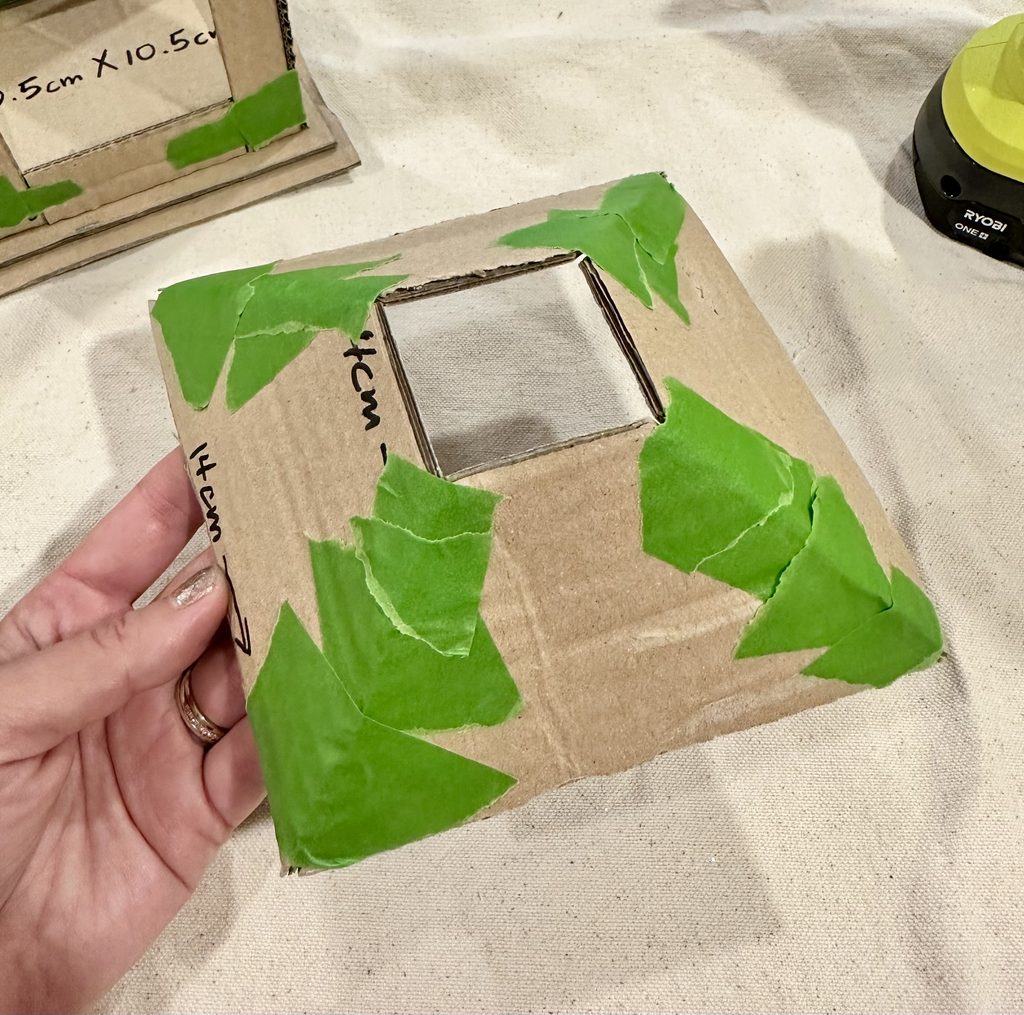
4 cm x 9 cm x 14 cm
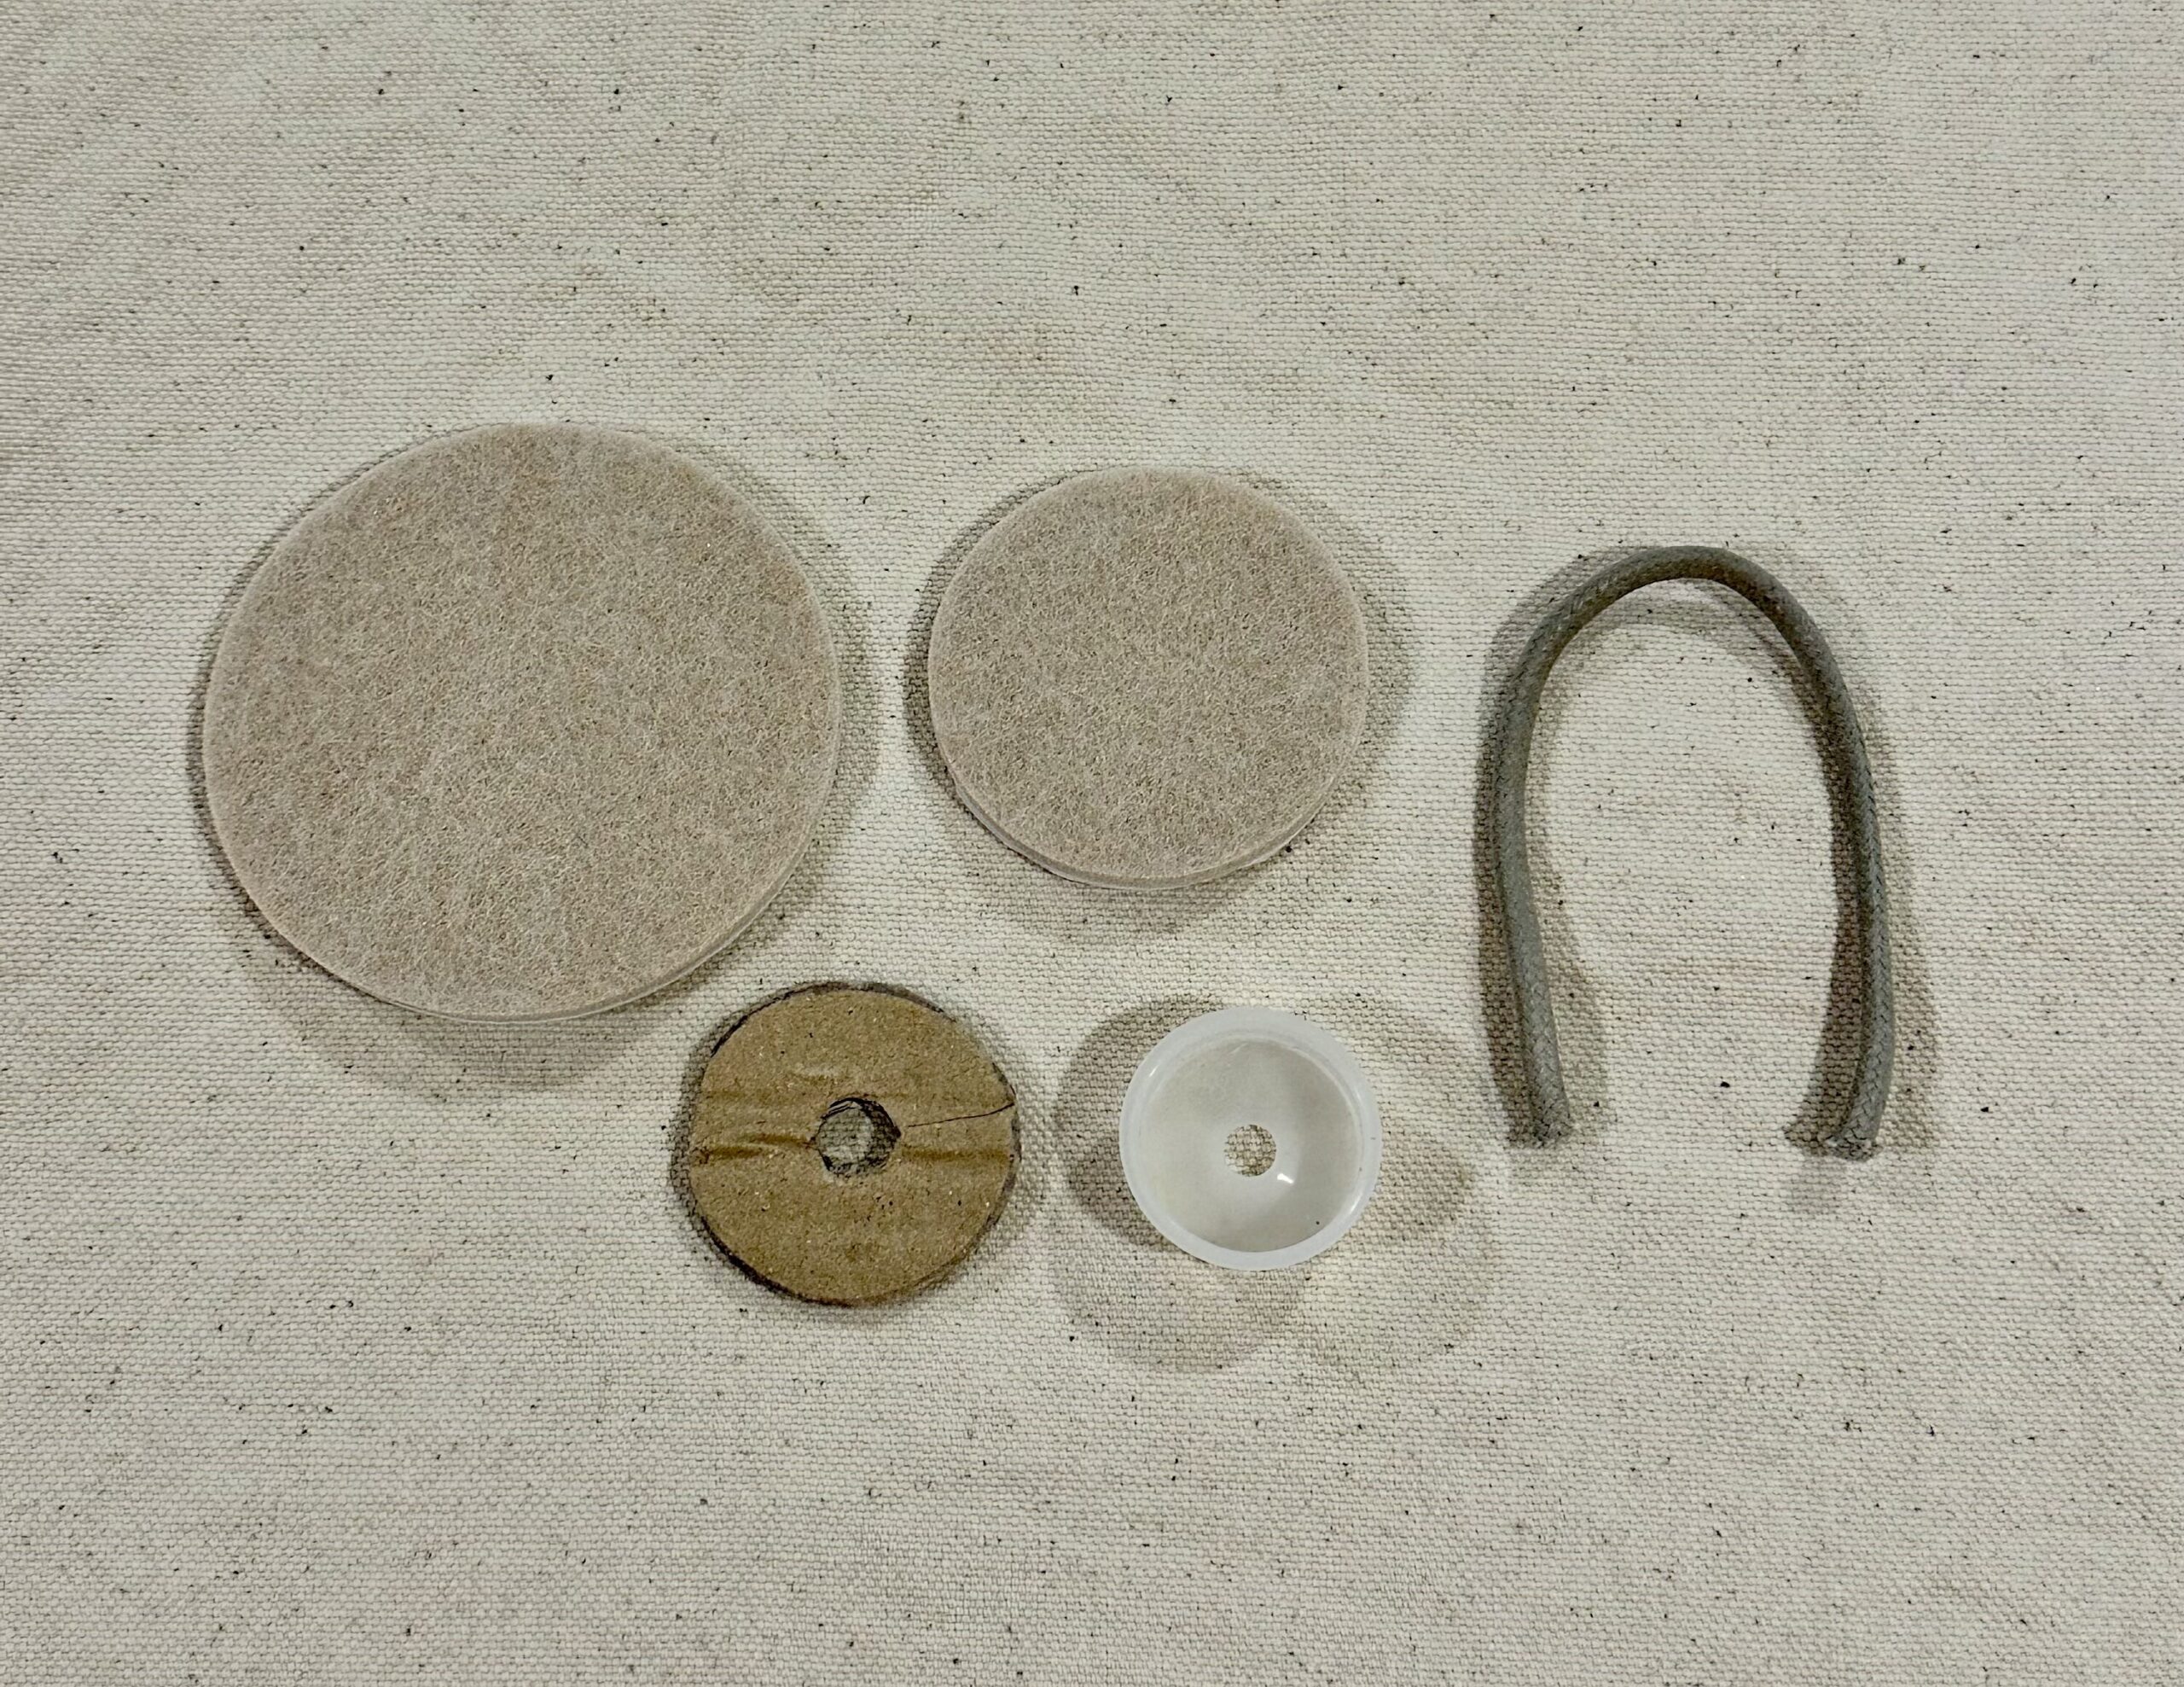
For the top of the lantern, I just used what I had.
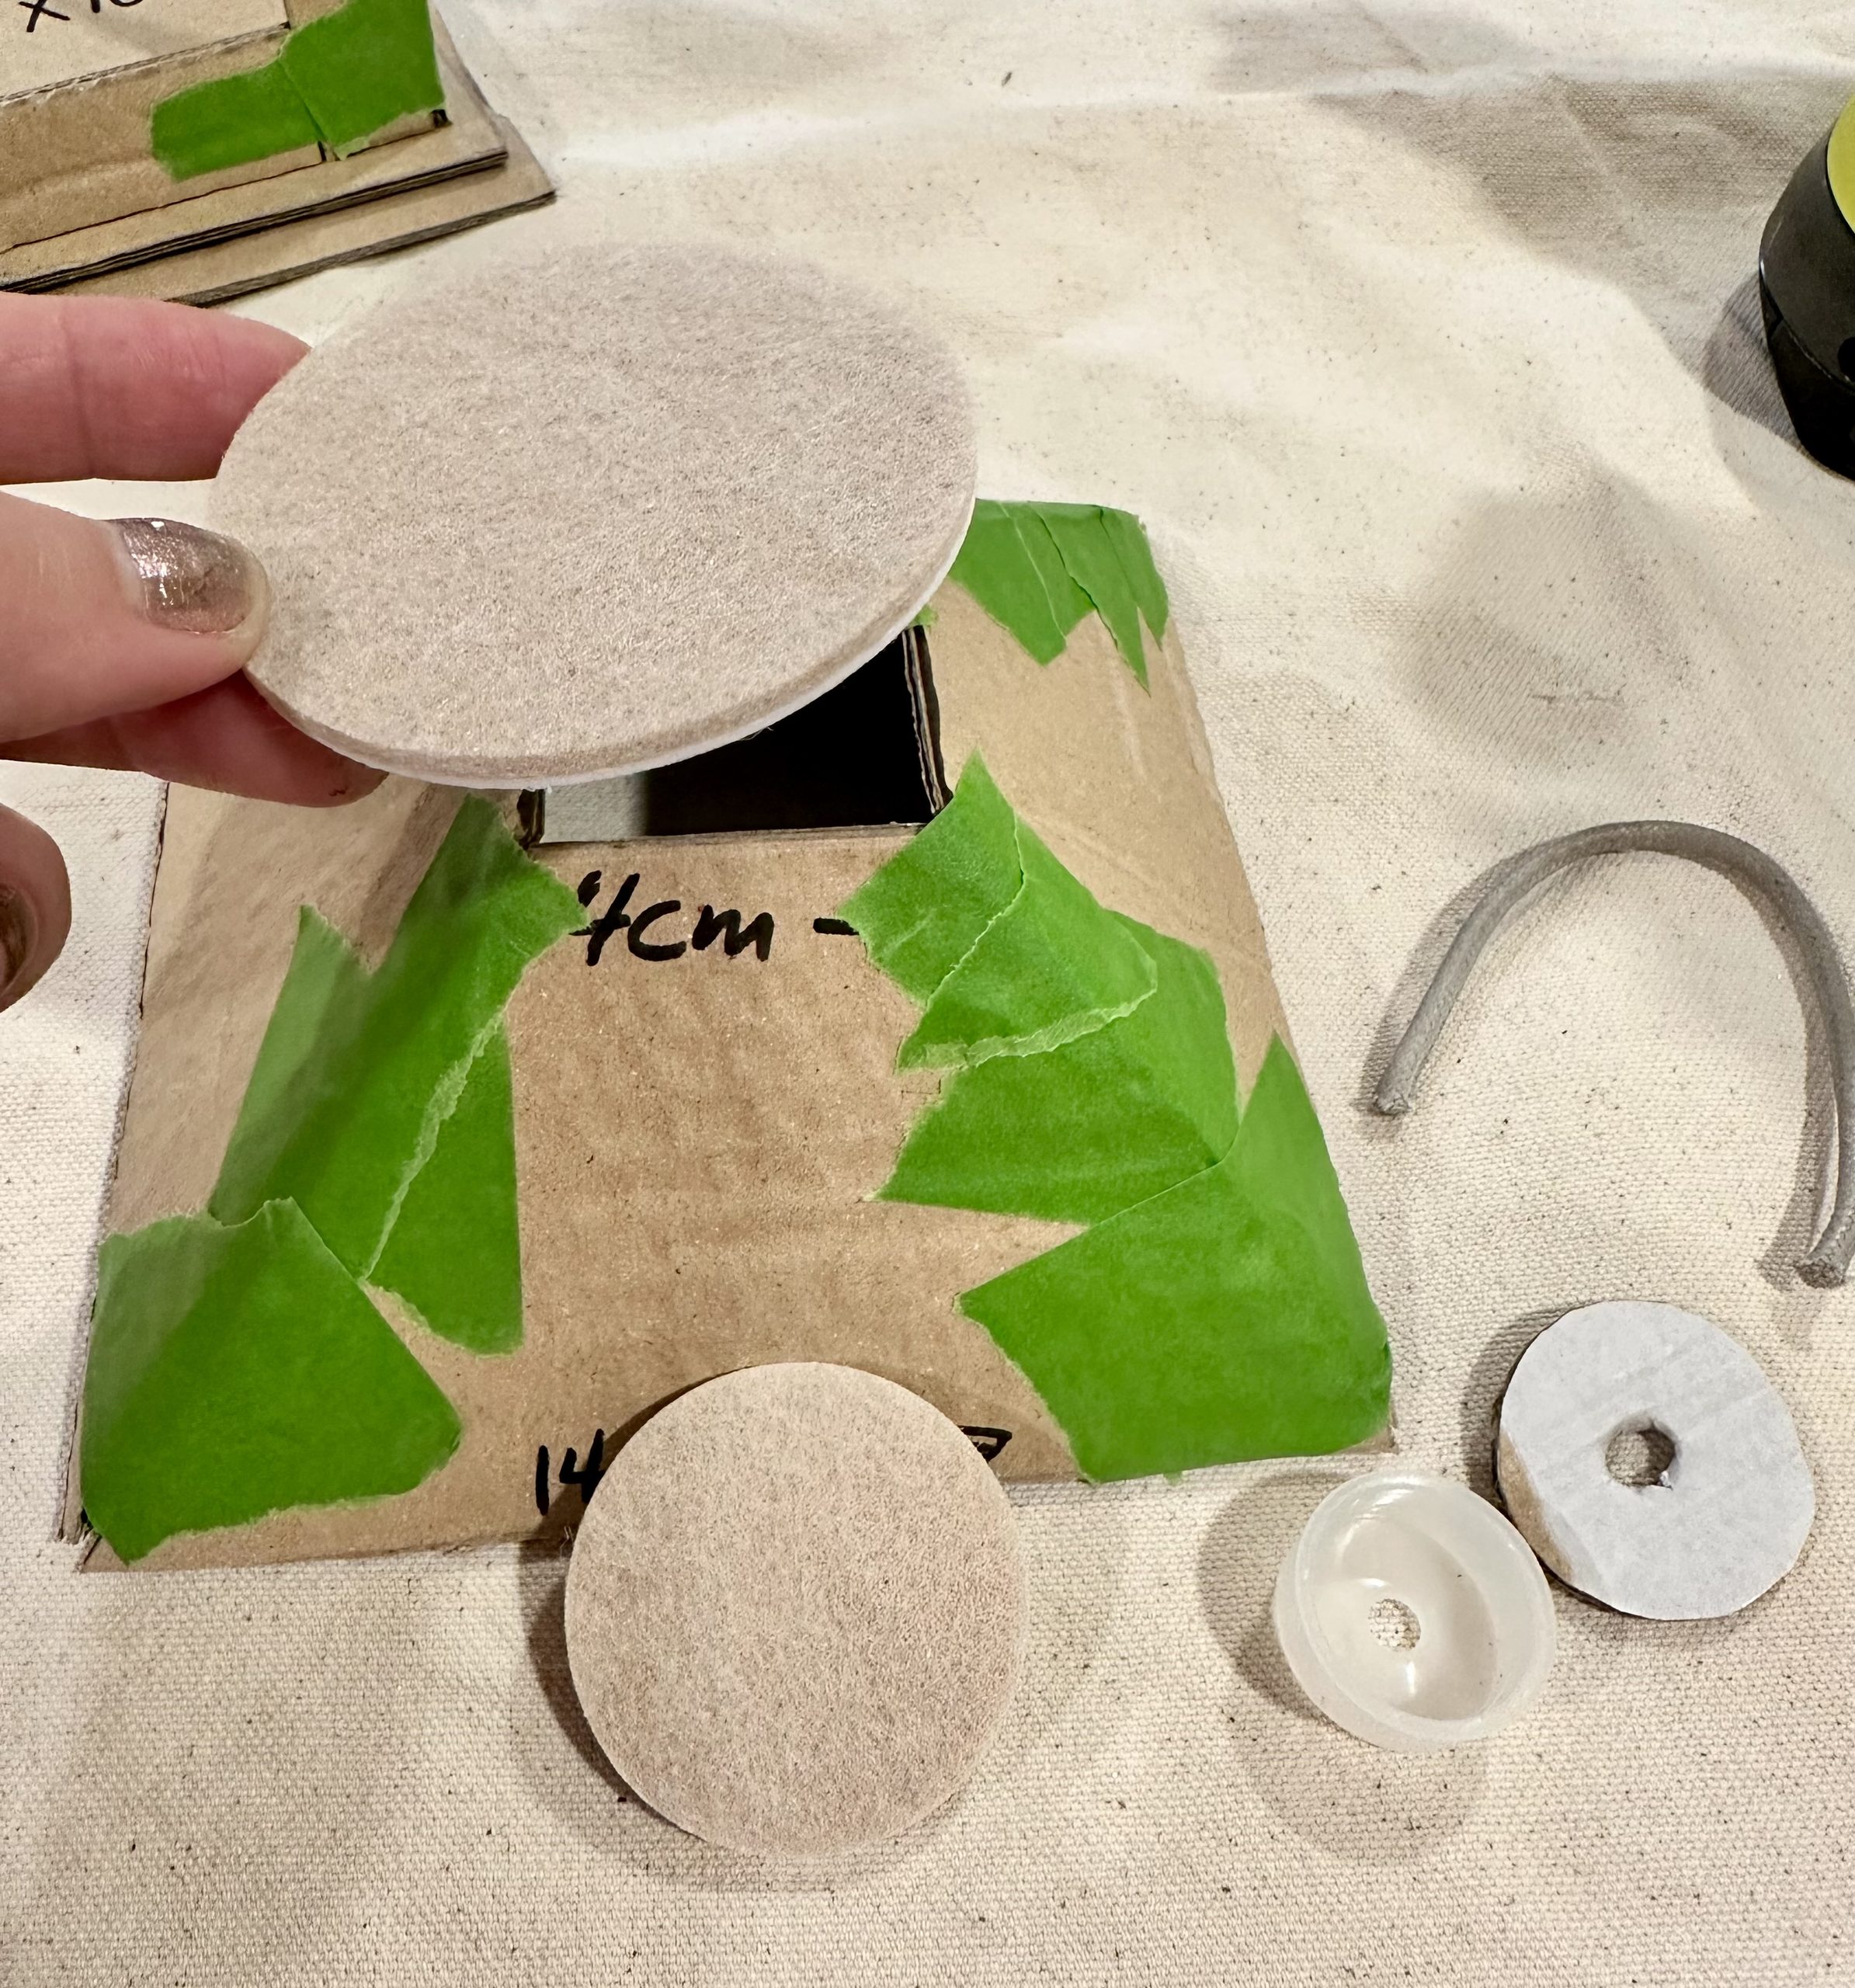
2 felt furniture pads
1 small piece of cardboard cut into a circle
Small plastic insulating cup washer
Cut a small piece of sturdy cotton rope
You can of course use whatever you like to make the top of the lantern.
Now, let’s get started!
Tear small pieces of masking tape and tape the frame together on the front and the back.
Hot glue together the 3 pieces to make the bottom of your lantern, with the smallest piece, 10.5 cm being on the top.
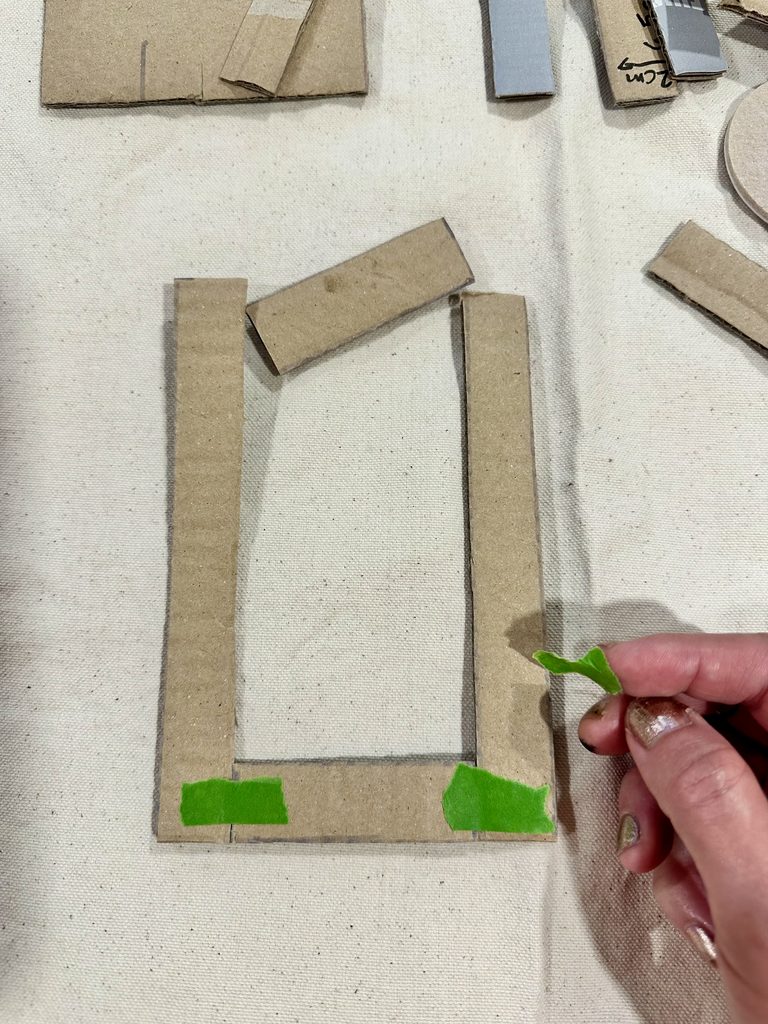
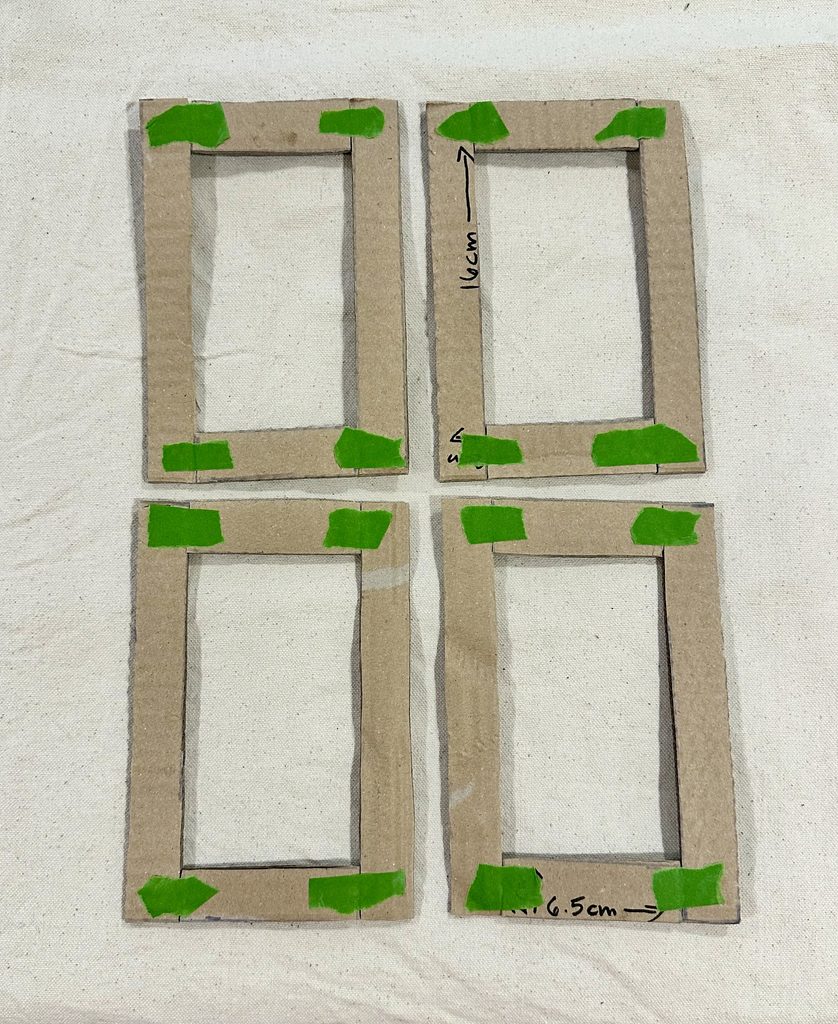
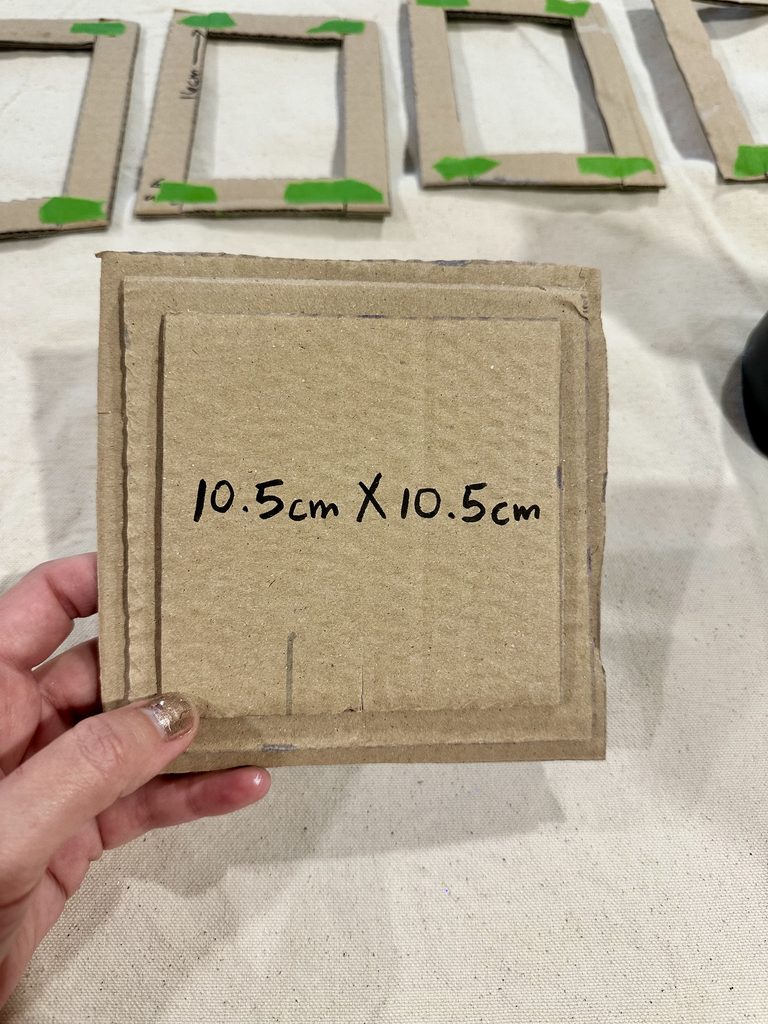
Next we are going to hot glue the frame to the bottom of your lantern, on the 10.5 cm piece.
Make sure you add enough masking tape to hold the frame together.
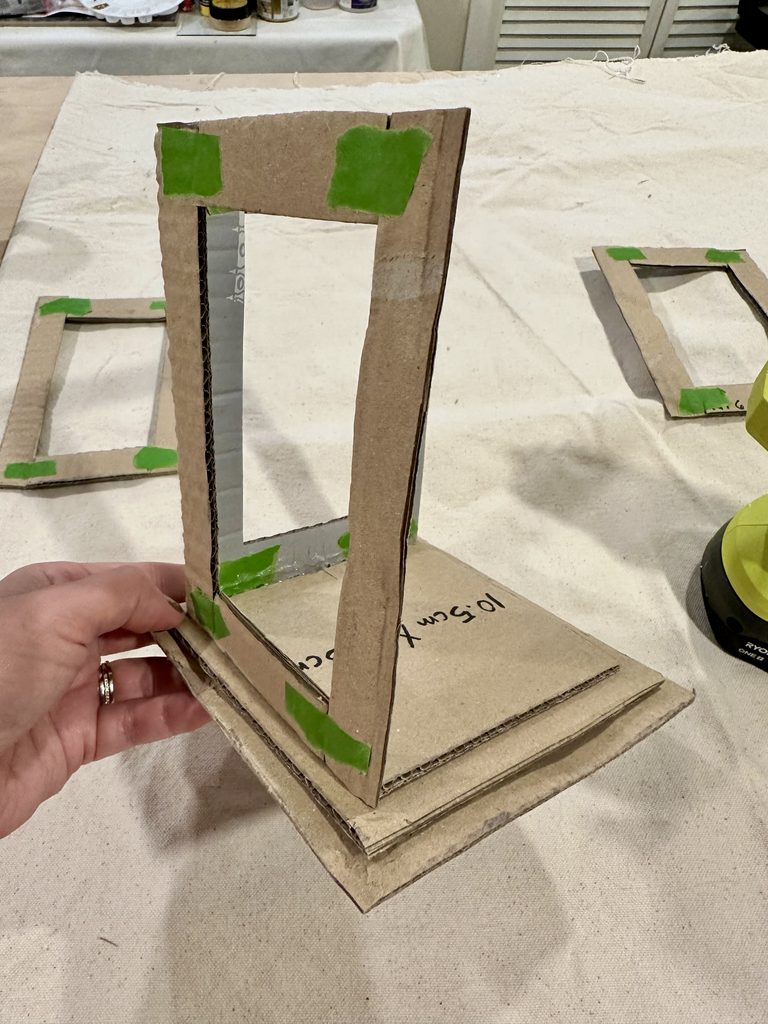
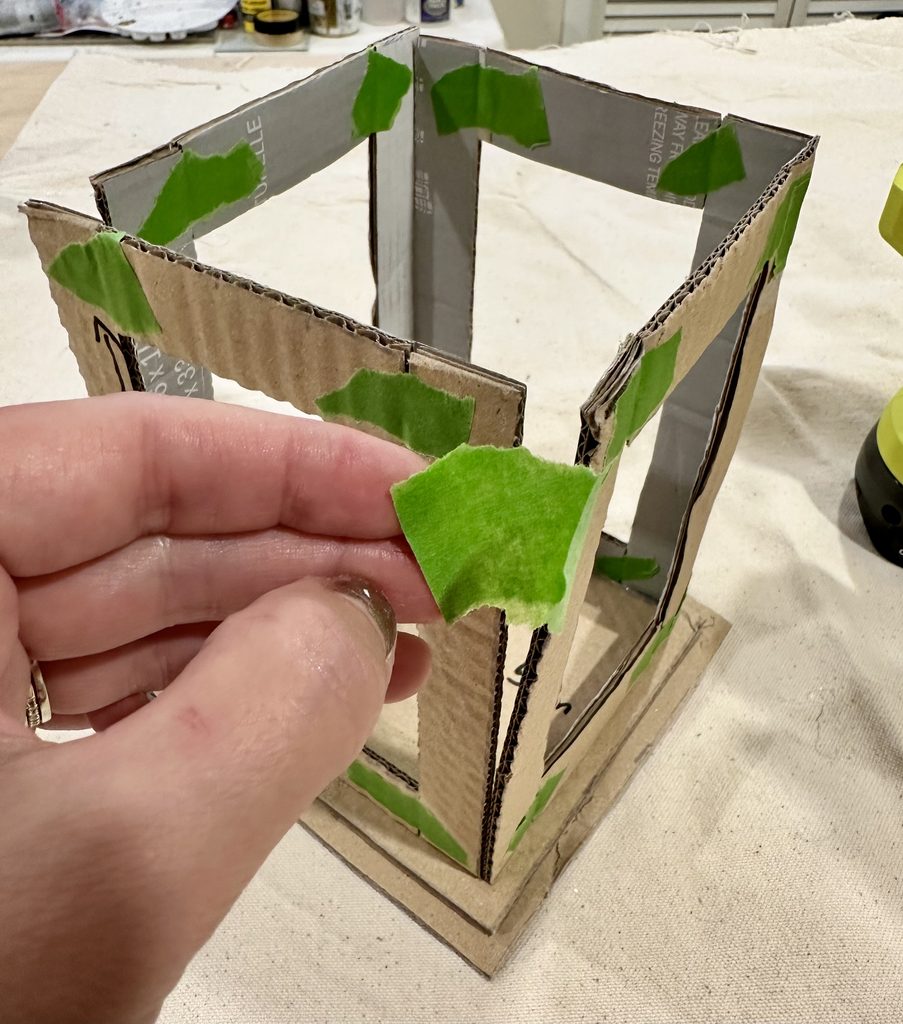
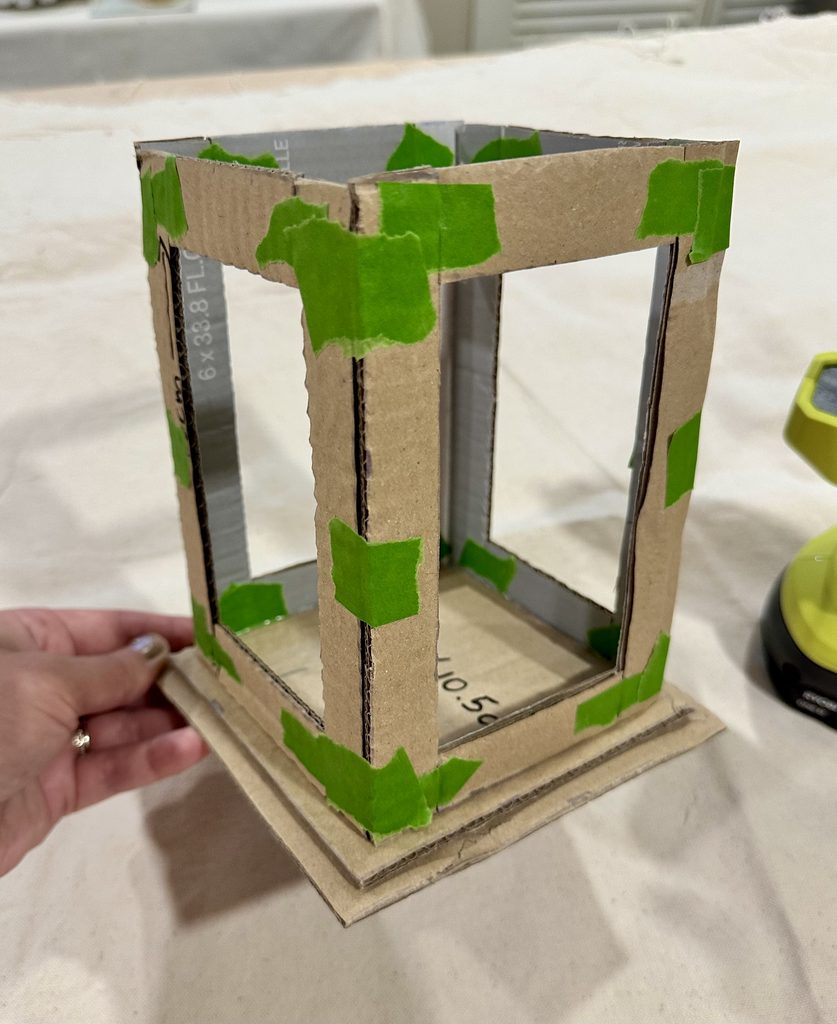
Now we will tape together the top of the lantern.
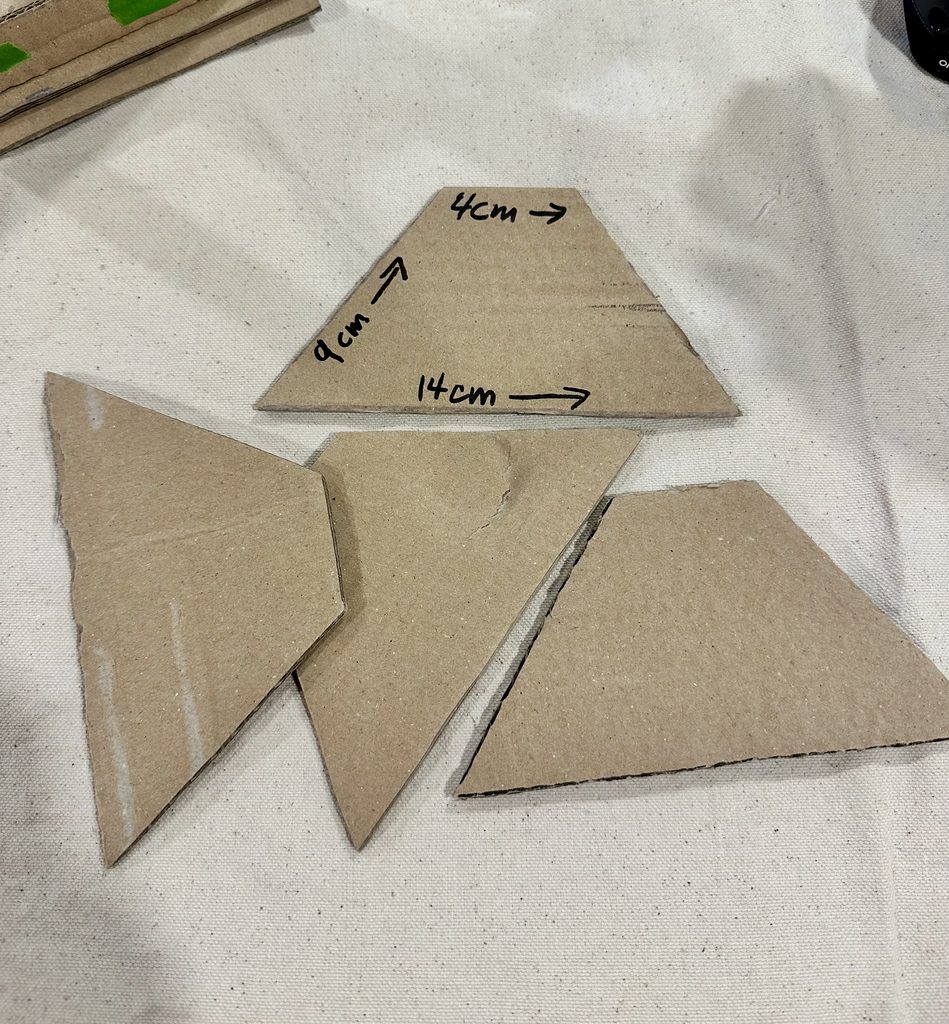
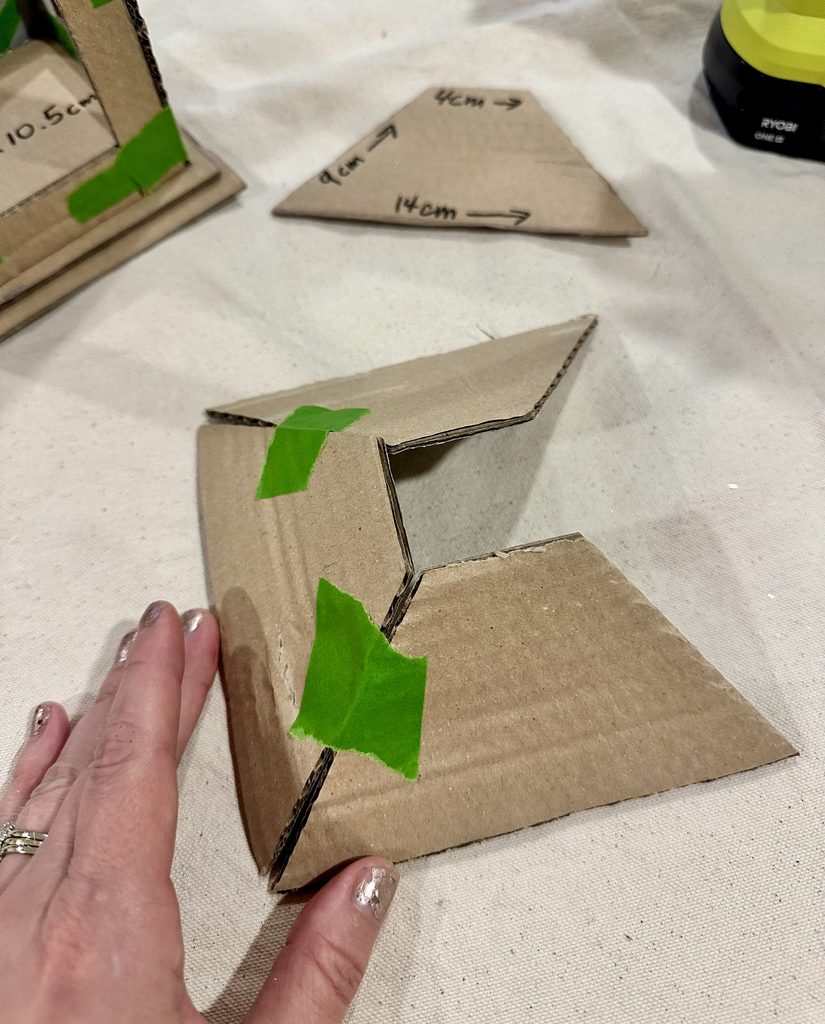
Next we will put together the top pieces.
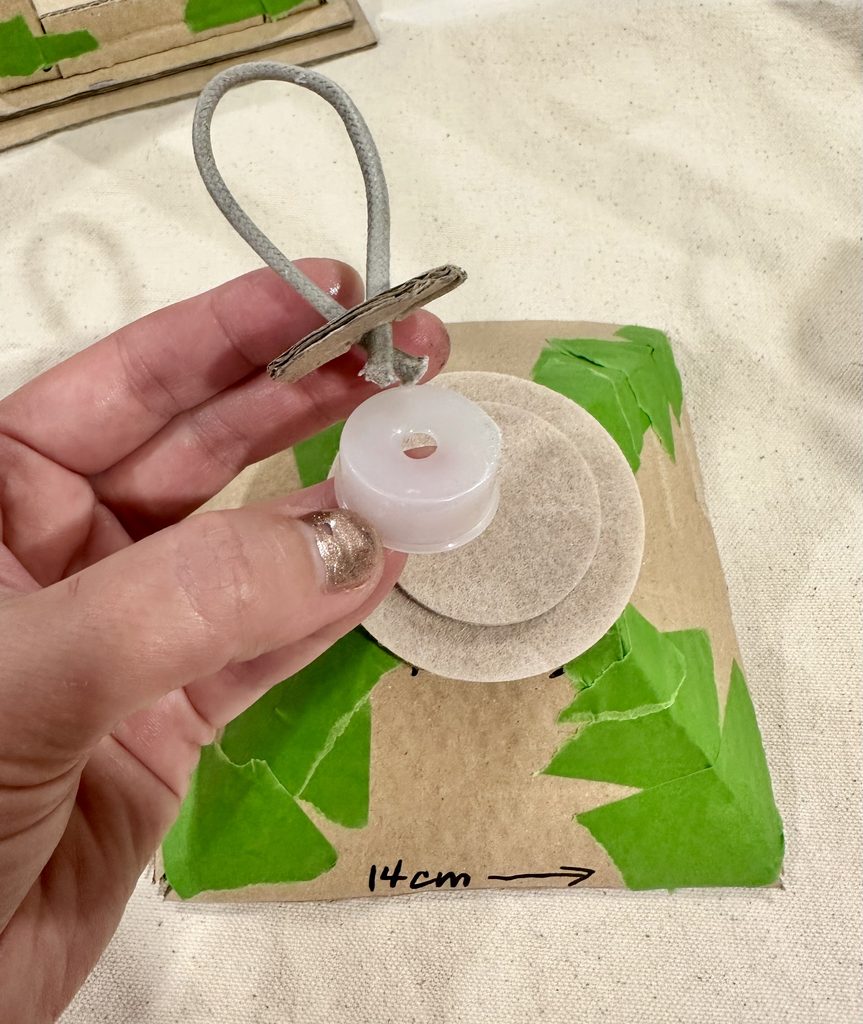
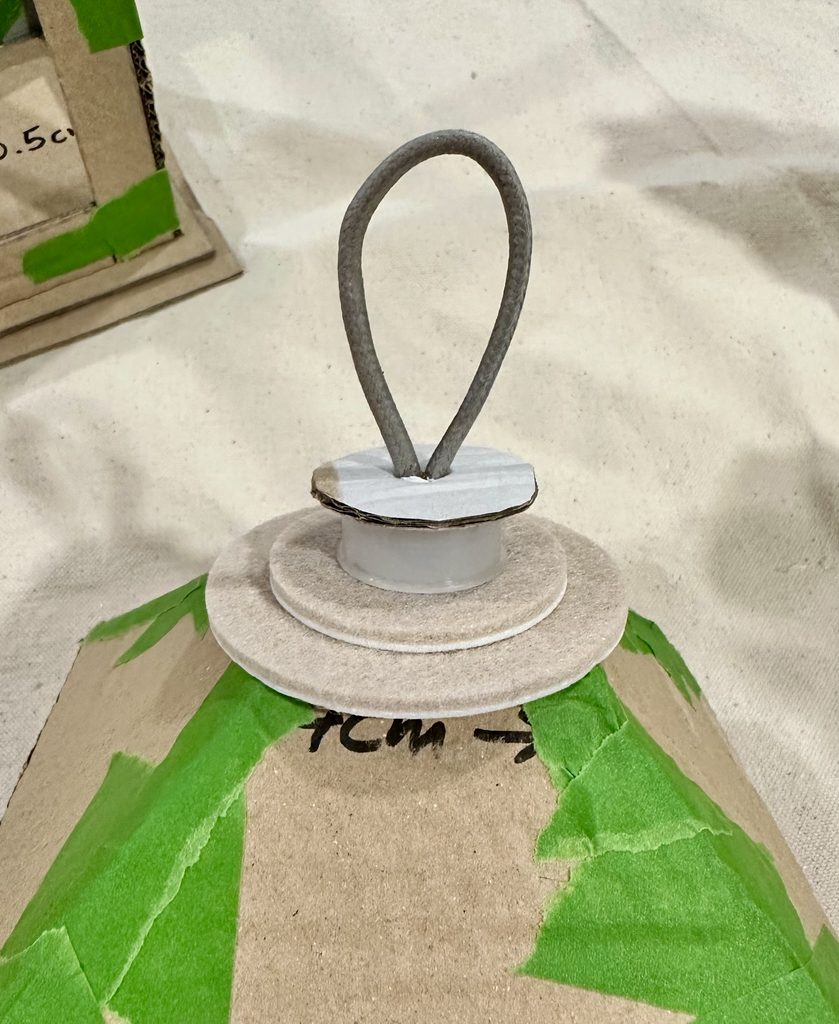
After removing the backing of the felt furniture pads, I placed it on the top of the lantern. Then hot glued the insulating cup, small piece of round cardboard and inserted the cord inside.
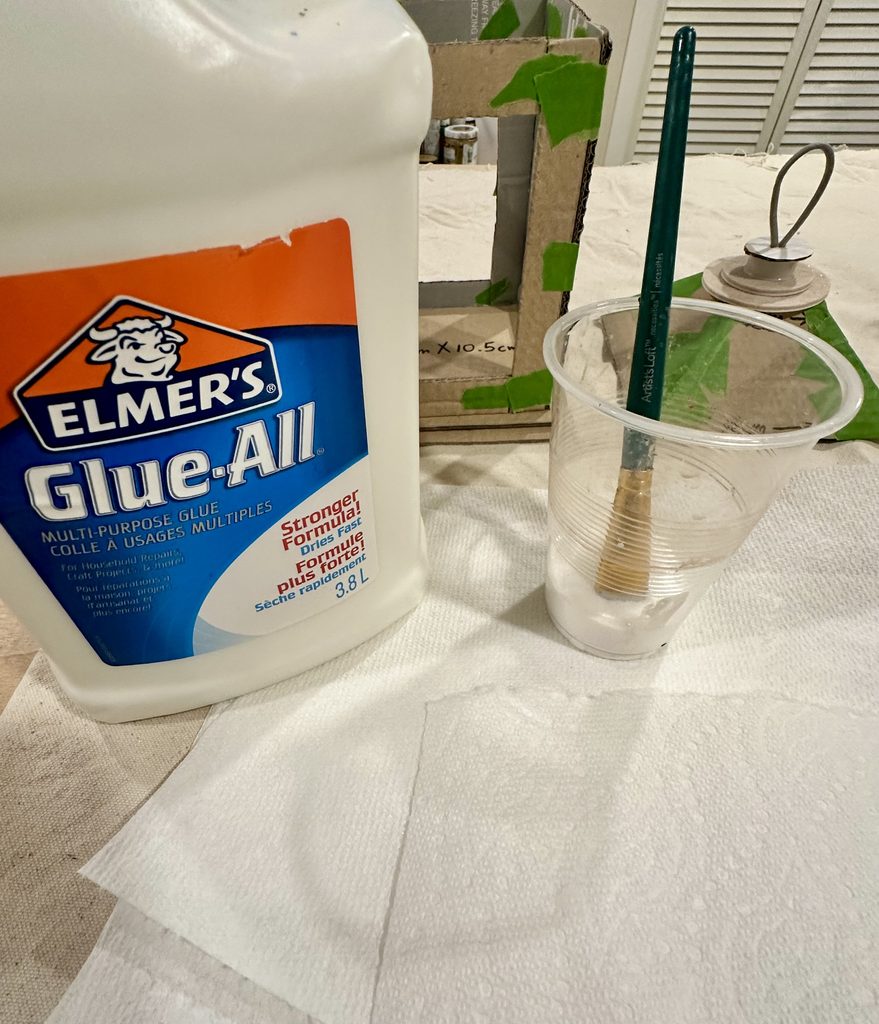
You are now ready to grab your paint brush and spread some glue all over your lantern.
Tear your paper towels into small pieces, and start placing strips onto your lantern. Apply a generous amount of glue. I also added a bit of water into my glue to make it a bit less gunky.
Make sure you cover the entire lantern with paper towels, and then let it dry overnight.
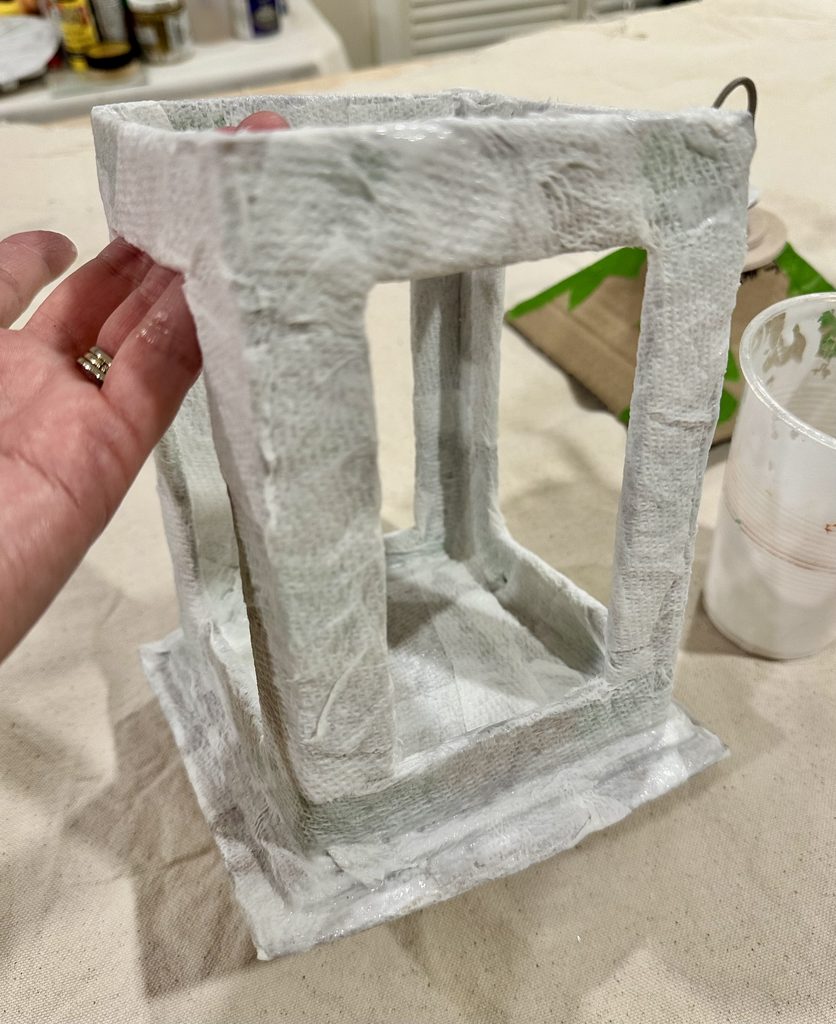
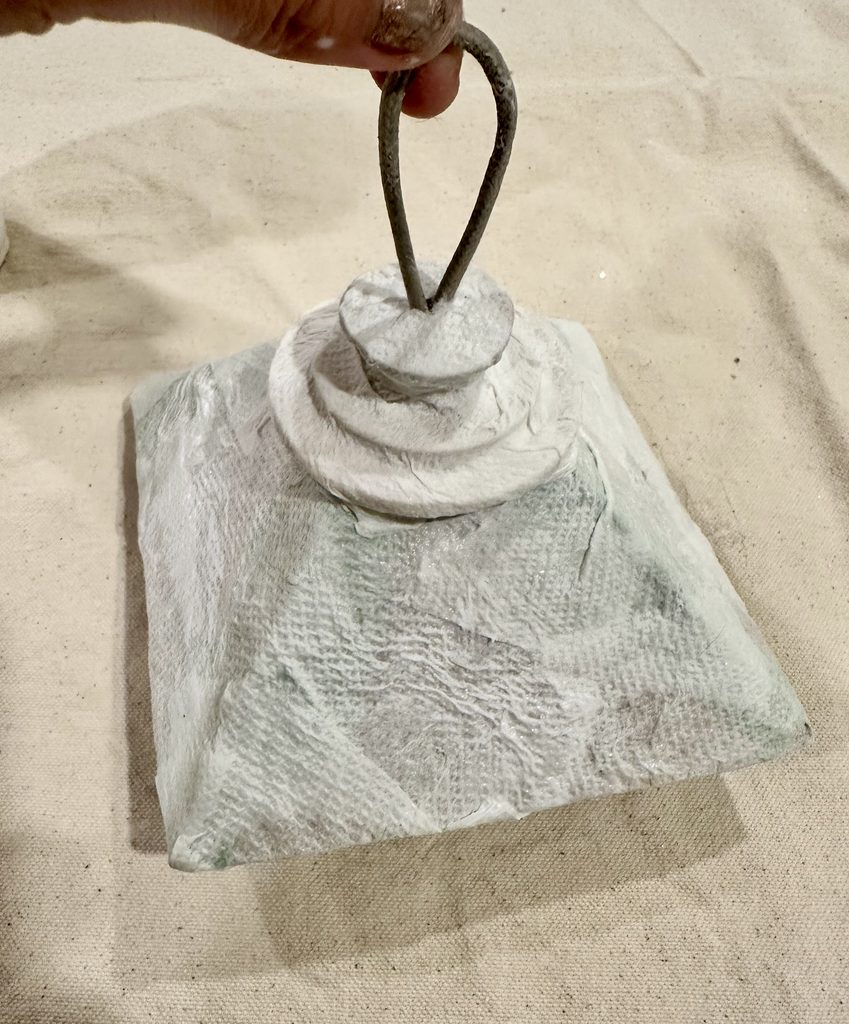
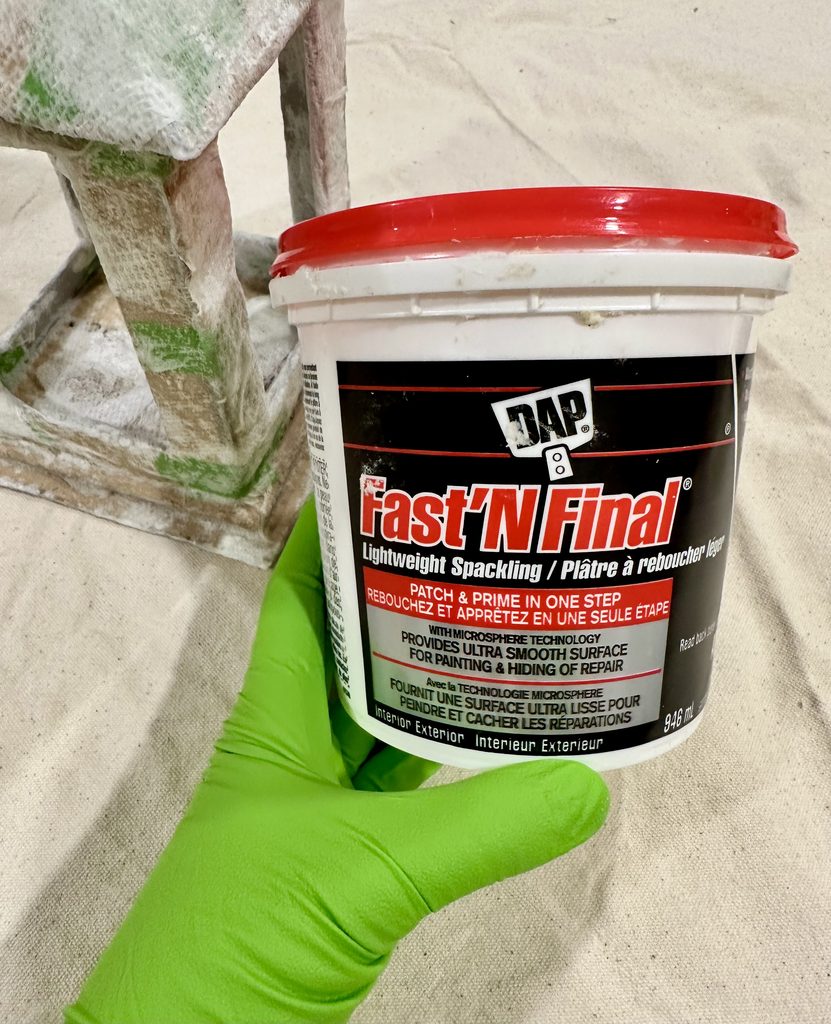
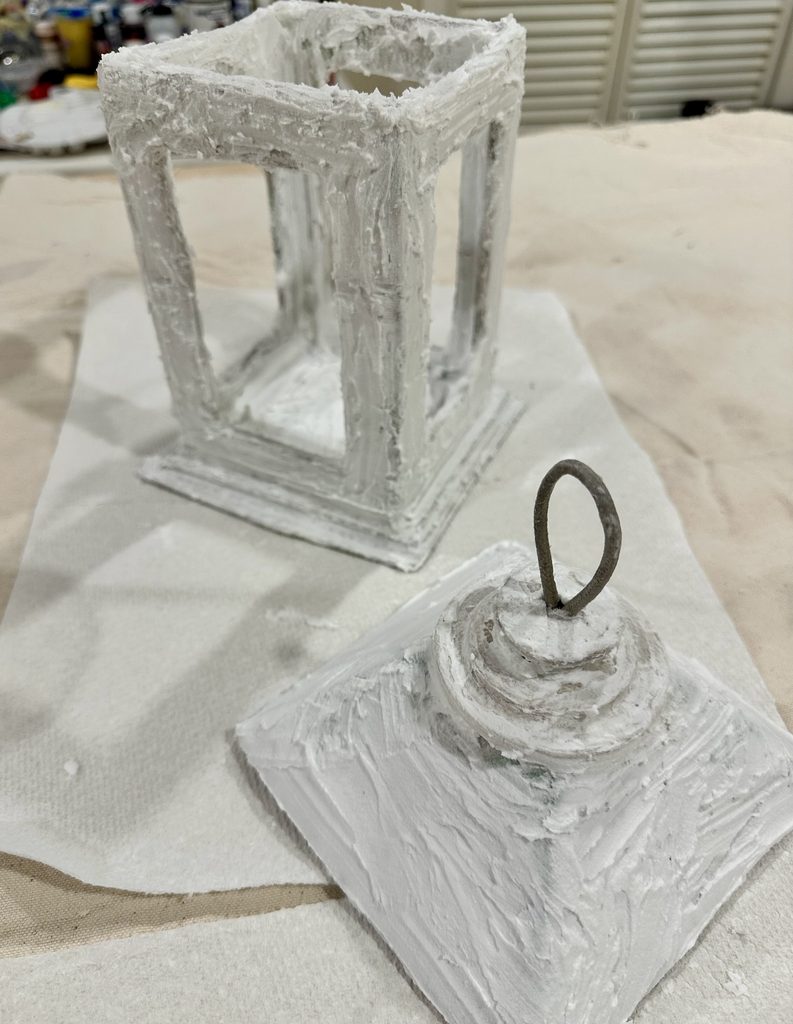
Once your lantern is dry to the touch, you can now start covering it with spackling paste.
Note: Please wear nitrile gloves, as this part of the project is quite messy!
Spread as much paste as needed in order to make sure that your entire lantern is covered in spackling paste, except for the cord!
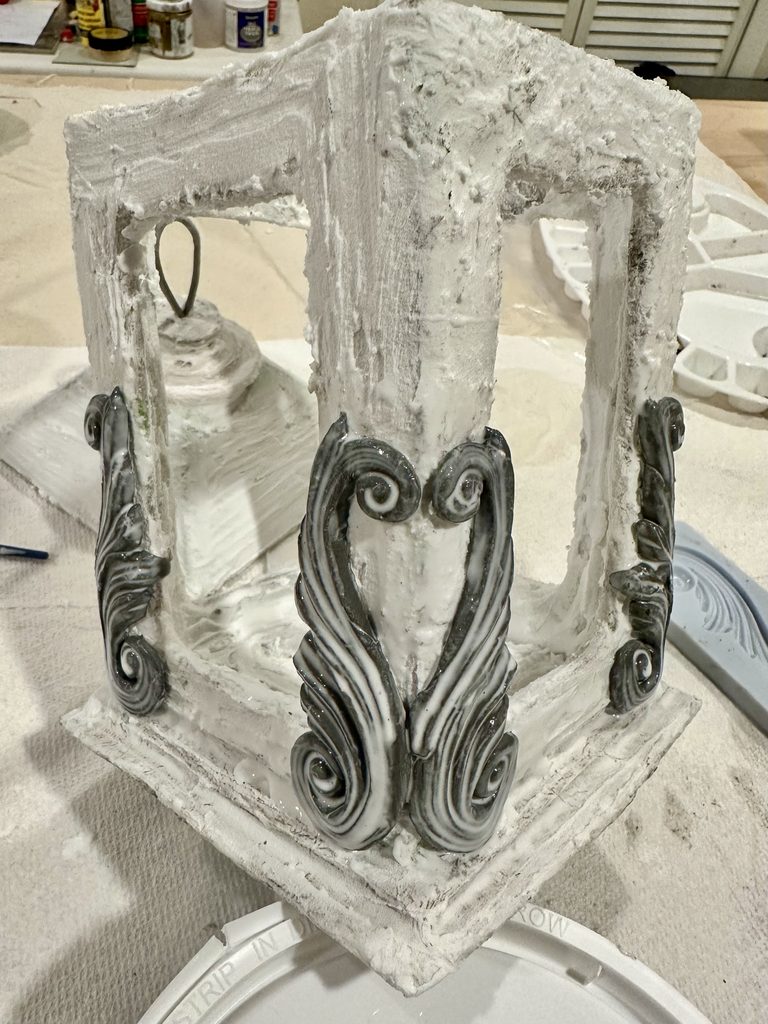
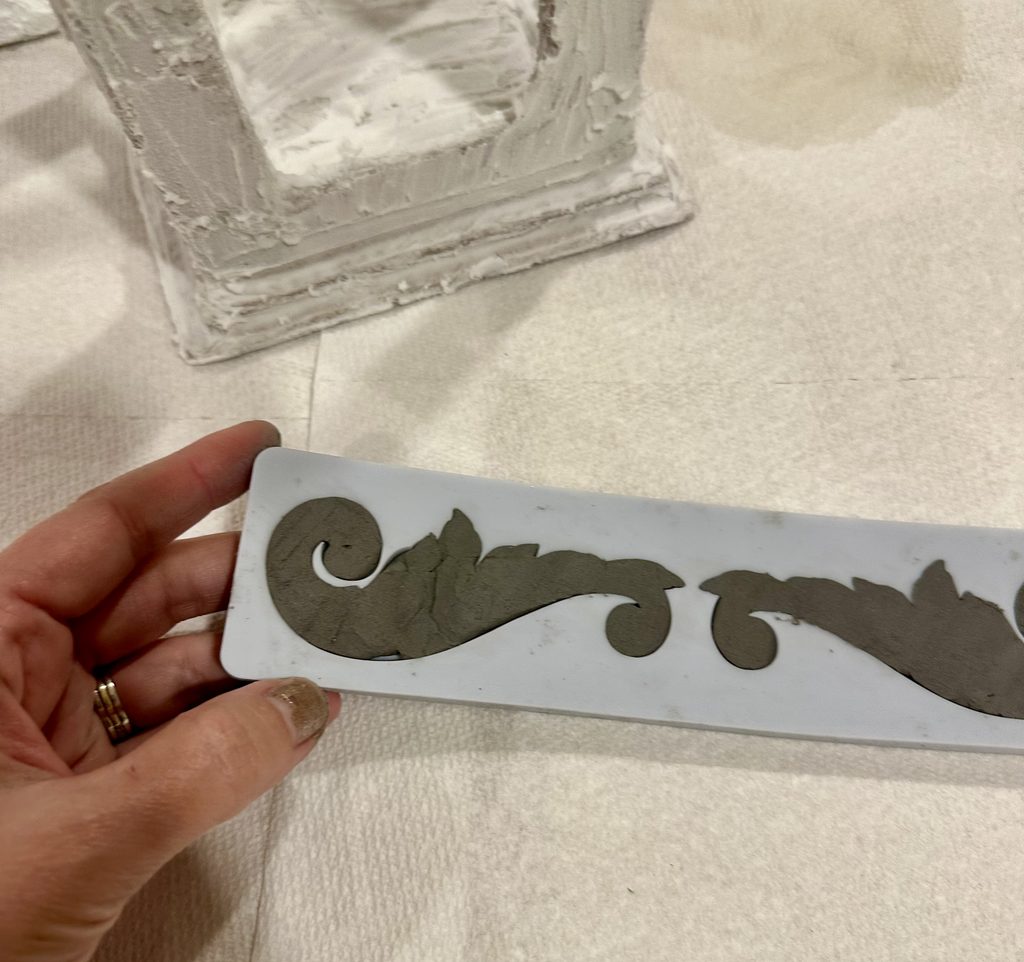
Now you can take out a small piece of air dry clay and use whatever decorative mold you like to make the decorative pieces. Add elmers glue to the back of your clay and apply to lantern with a generous amount of glue.
I positioned my lantern in a slightly slanted manner in order for one side of the air dry clay pieces to dry without sliding off the lantern. Left to dry overnight. Then repeated the process on the other side of my lantern. Do the same for the top piece of your lantern and always wait until the next day and your pieces are all fully dry to the touch before proceeding with the next steps.
Once everything is fully dry, you can now proceed with painting your lantern!
Painted the entire lantern with black acrylic paint. I also use a very small brush (I used a mixed media brush, level 2, petite round #20) to make sure I I get paint into every nook and cranny. You don’t want any white showing.
Once again, let everything dry overnight.
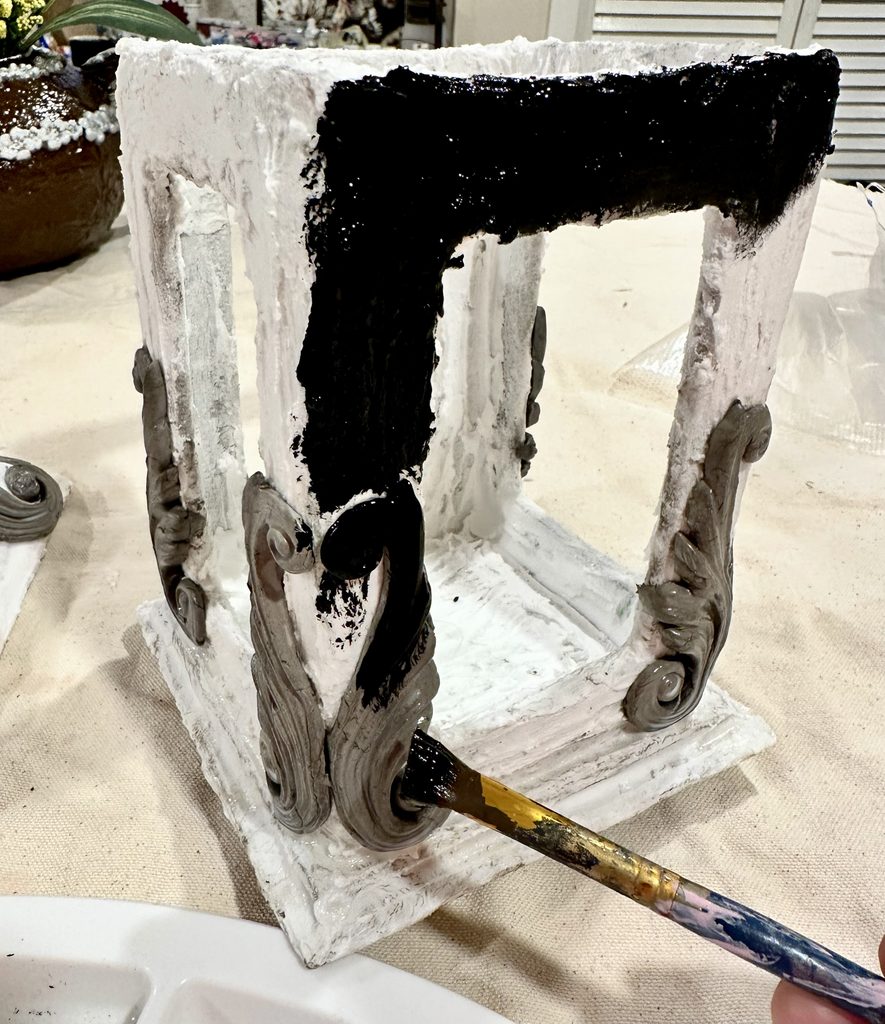
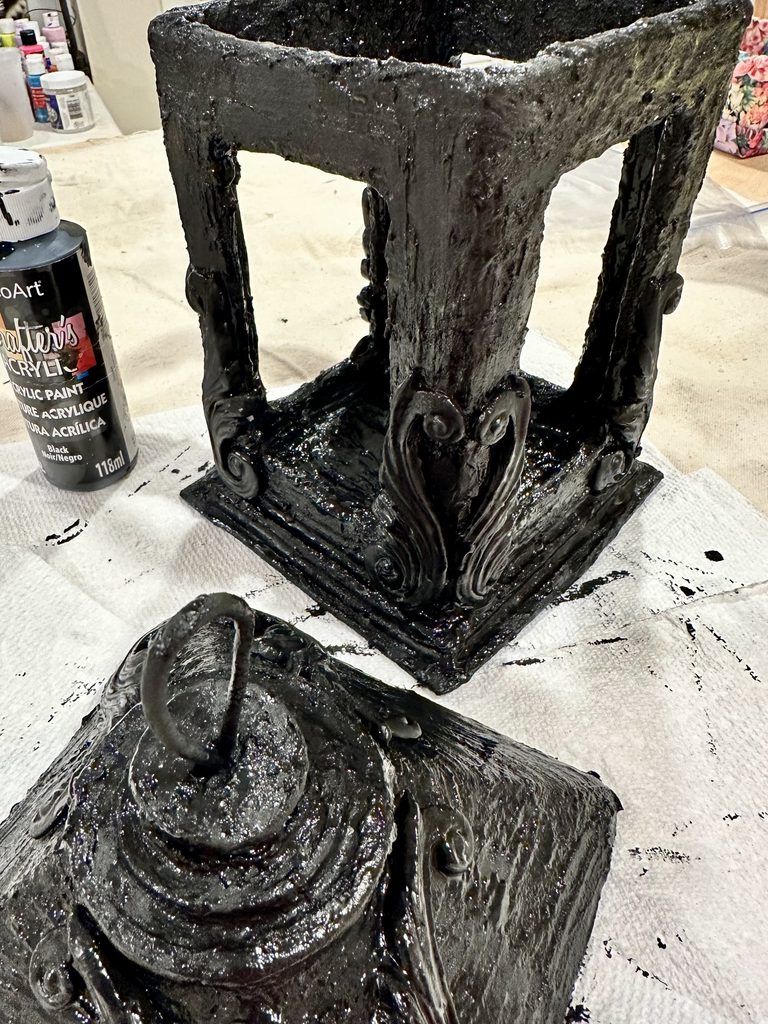
Now you can start creating the “rustic” look.
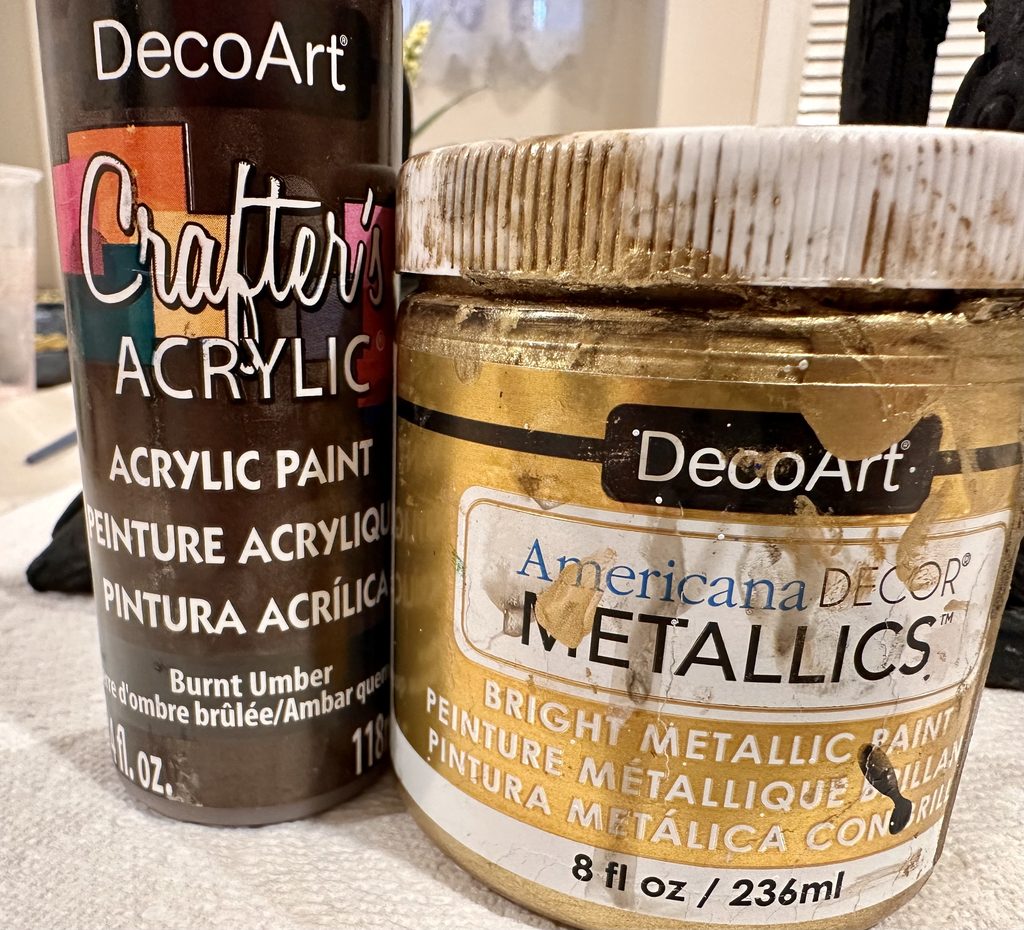
I mixed burnt umber and a gold bright metallic paint from Deco Art together until I achieved the colour I wanted.
For this part, you will not be using your paint brush, you want to blot your paint on a paper towel, and then lightly dab your paint with a soft sponge onto your lantern as you still want some black to show underneath. See photo below:
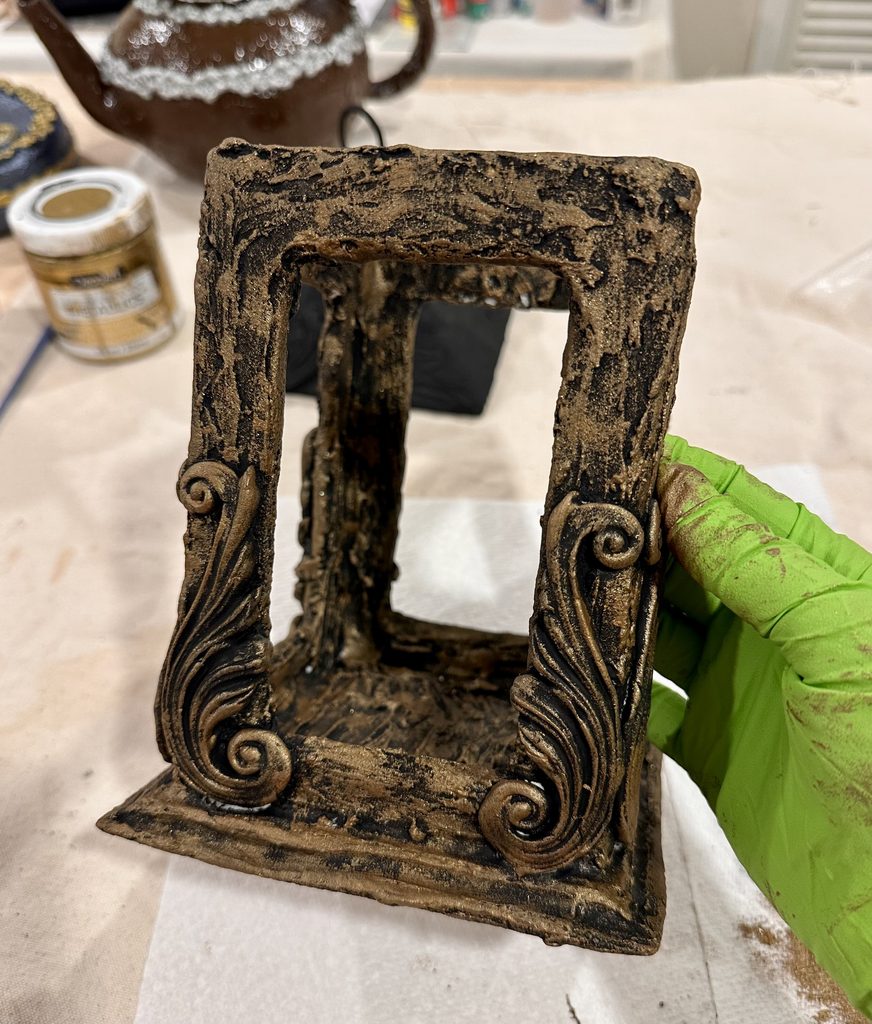
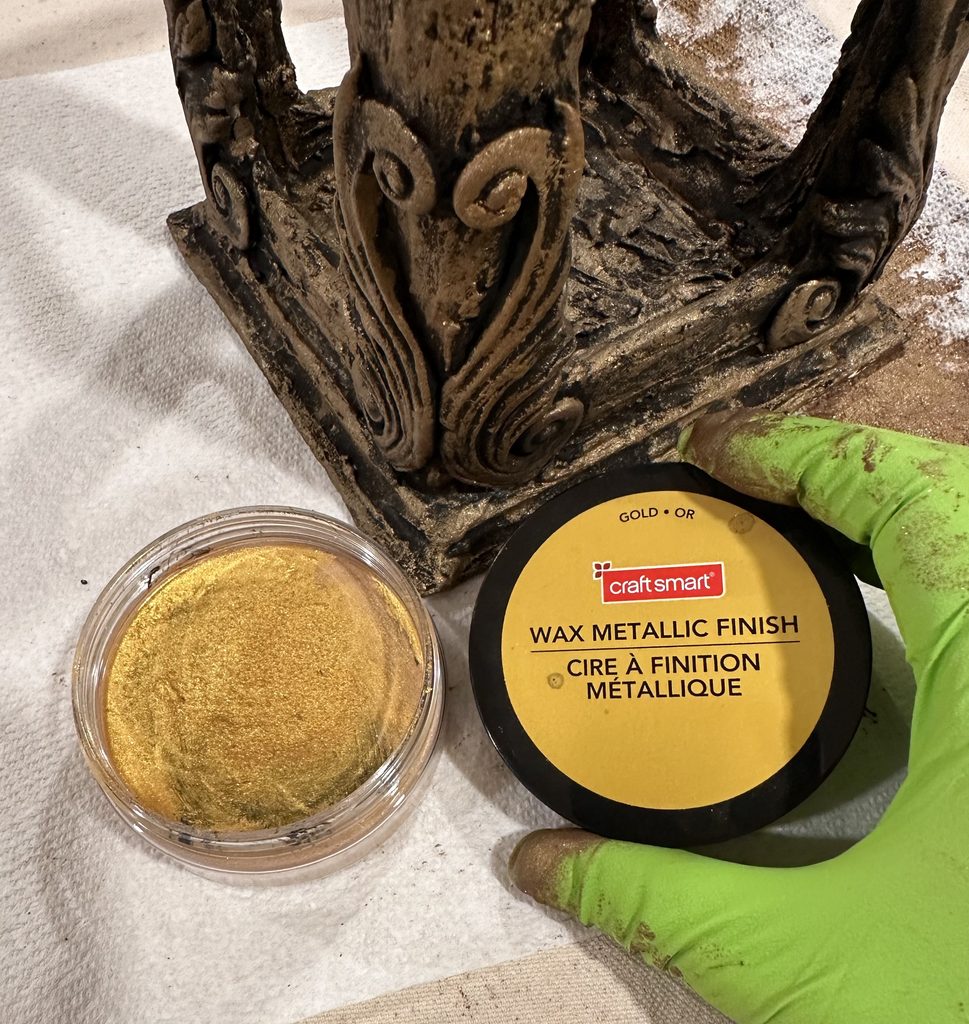
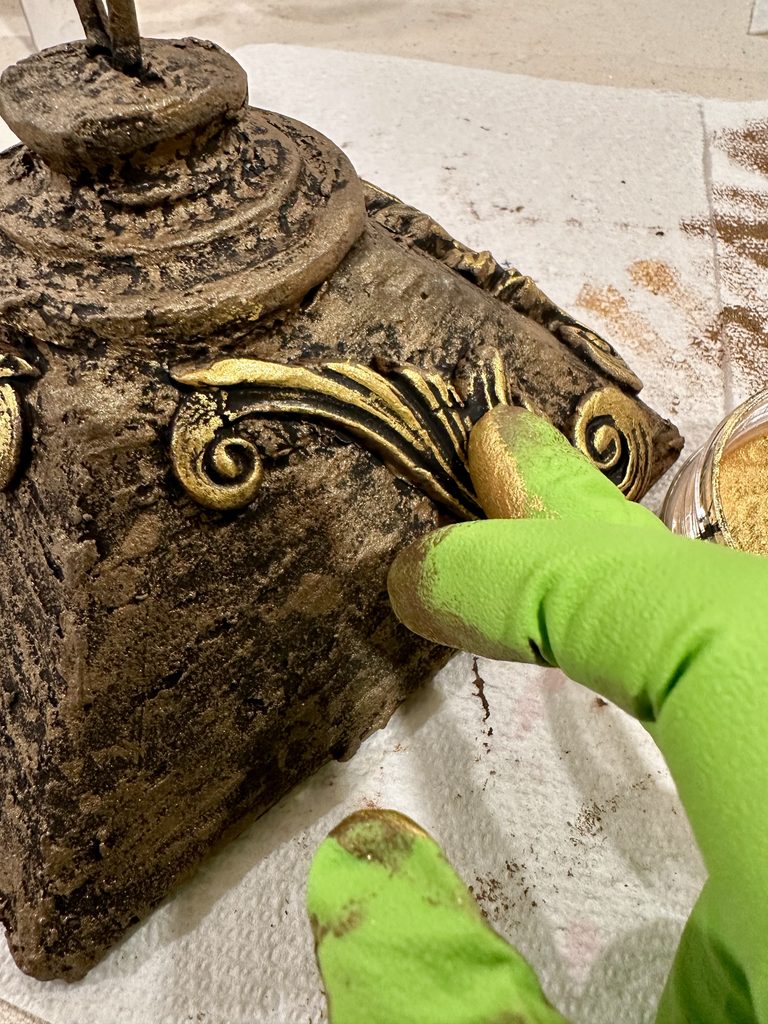
For this next part, I used my gloves to lightly smooth over the decorative pieces (your air dry clay pieces) with the wax metallic finish, making sure I did not get any onto my lantern.
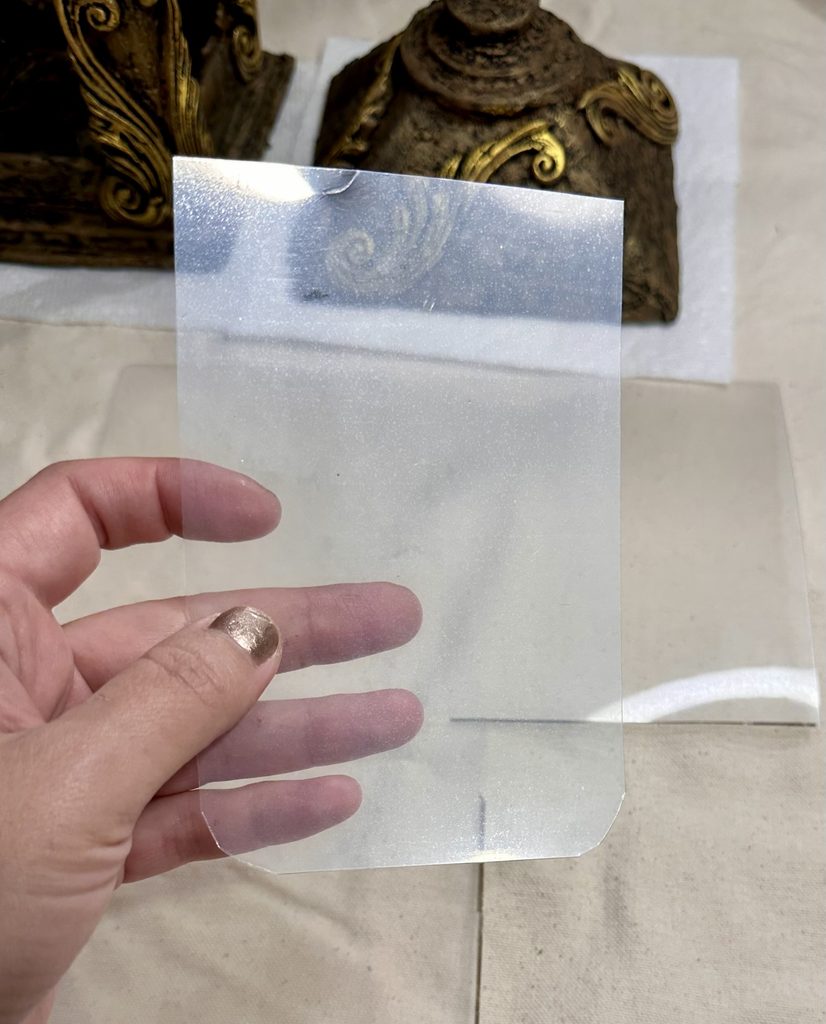
Now you can cut your laminated sheets to make the “glass” inserts for your lantern.
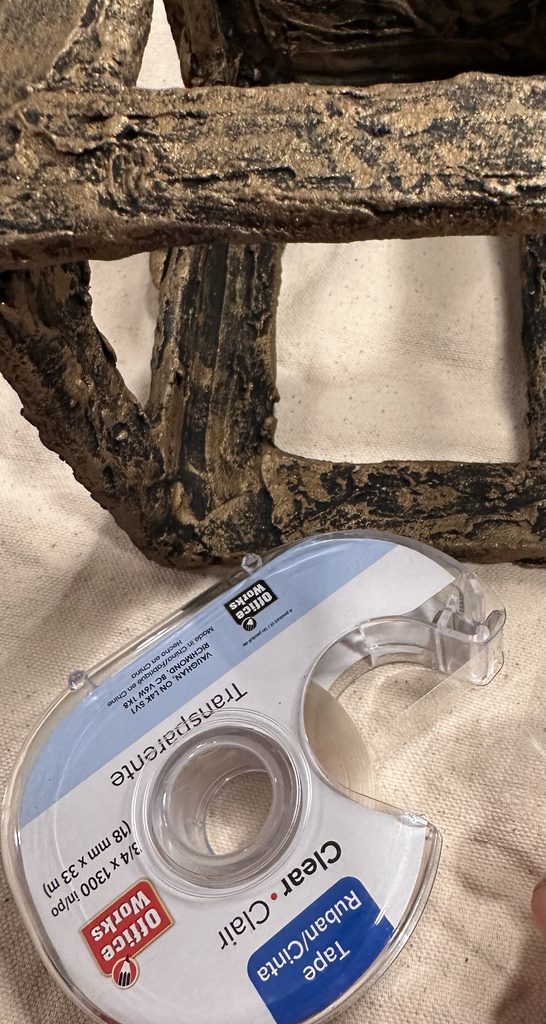
I used tape instead of glue in case I ever want to remove it and swap it out for a different look.
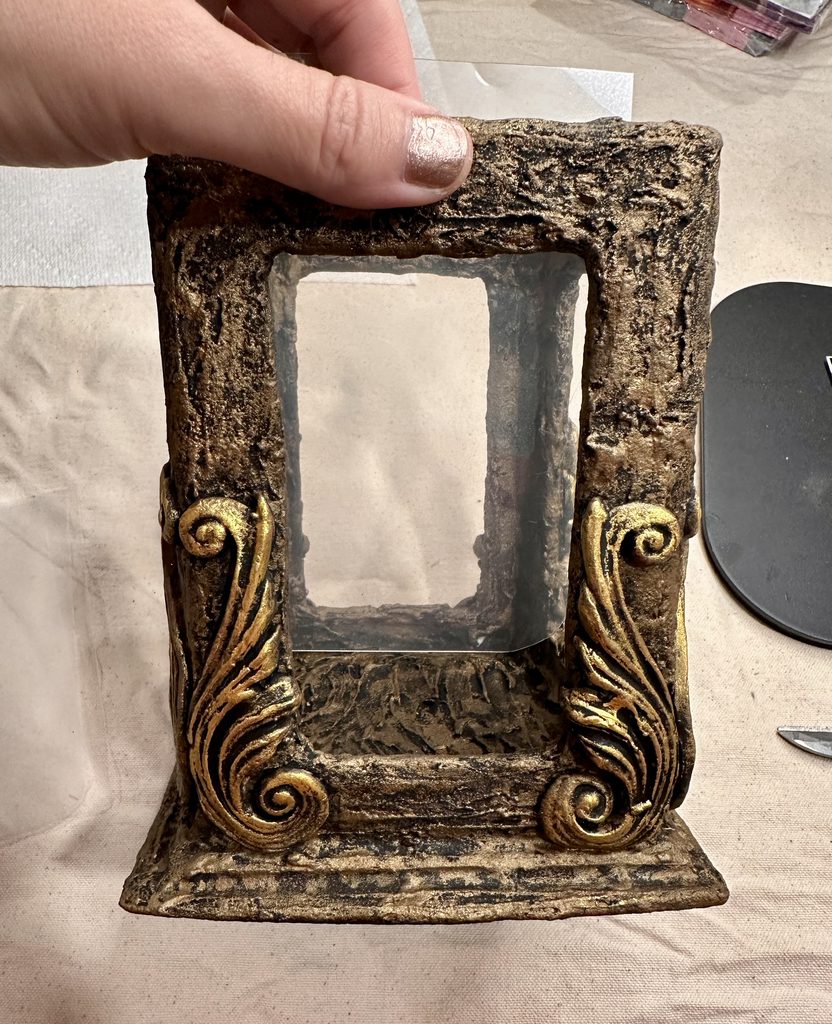
You are now ready to add the final touch!
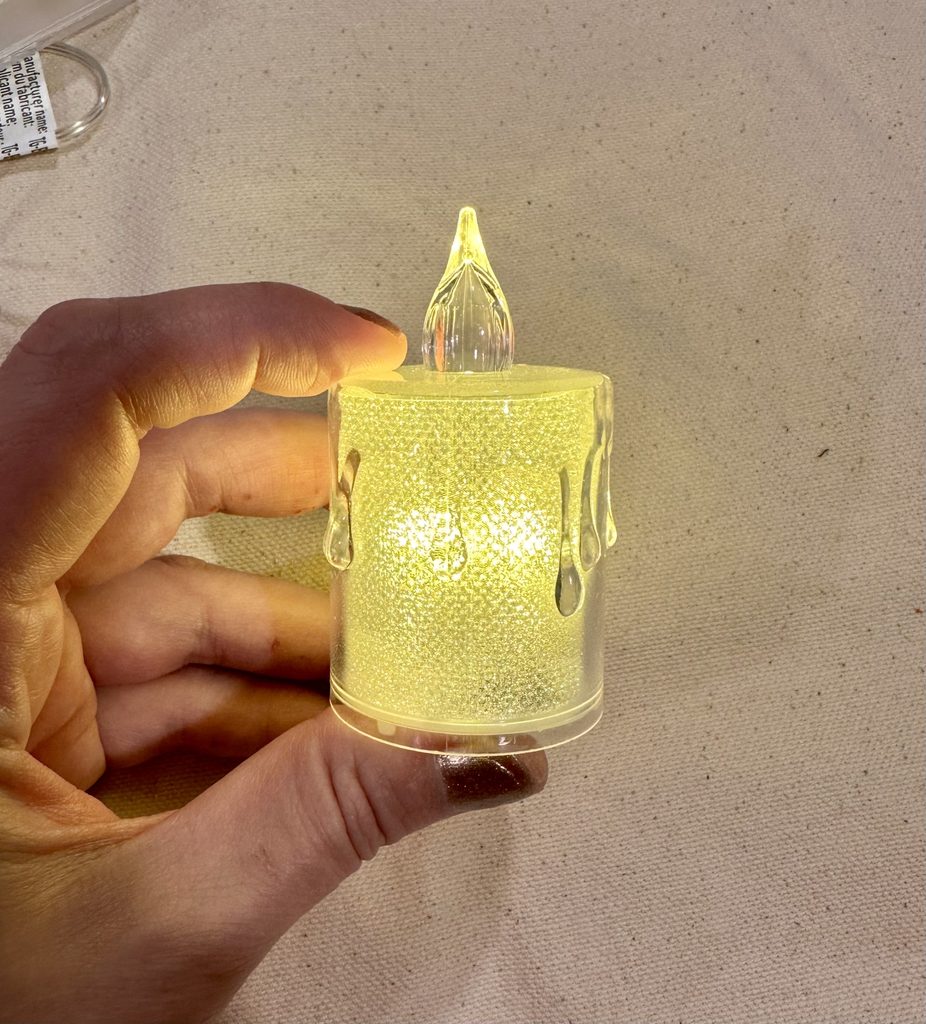
Turn on your LED candle and place inside your lantern.
Your rustic lantern is now finished!