
Botanical casts are beautiful and fairly easy to make!
Plaster casting, also known as ‘bas-relief’ or ‘low-relief,’ is a type of sculpture where the design is slightly raised from the background surface.
Petroglyphs, which are found on cave walls, are considered some of the earliest known examples of bas-reliefs, due to the raised effect that they create.
The casts I make are made with Hydro-stone, which is an exceptionally strong casting gypsum. I have also used Hydrocal and Plaster of Paris, but I prefer to use Hydro-stone.
Before starting, an important thing to mention is that all gypsum powders have varying amounts of silica in it. Being exposed to silica dust can pose respiratory hazards, therefore it’s important that you follow safety precautions when working with these materials. You should always wear Personal Protective Equipment (PPE) such as respiratory protection, eye protection, clothing with long sleeve shirts, gloves, and make sure you work in a well ventilated area.
Now let’s get started!
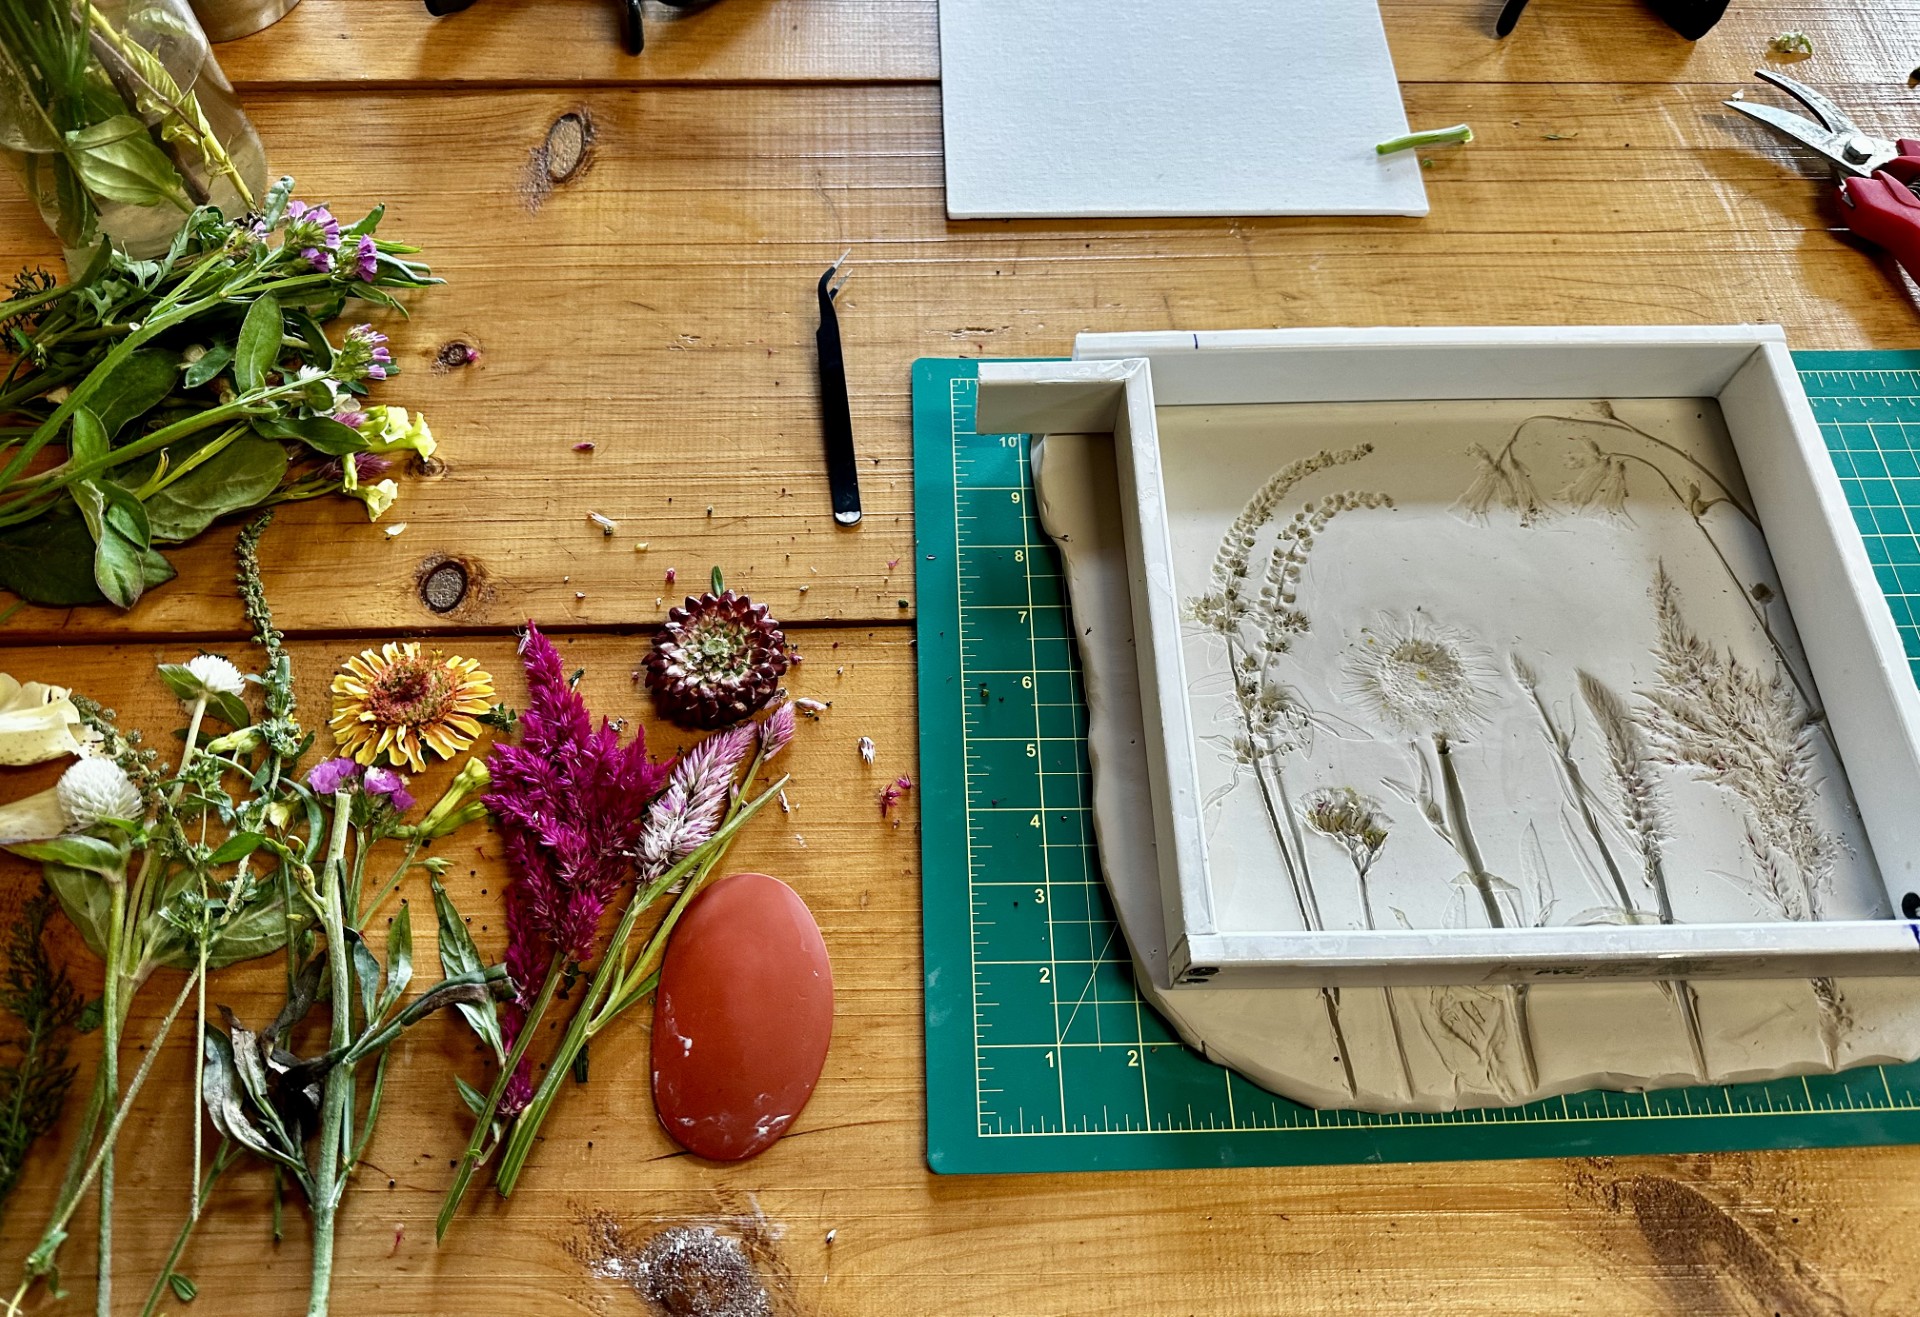
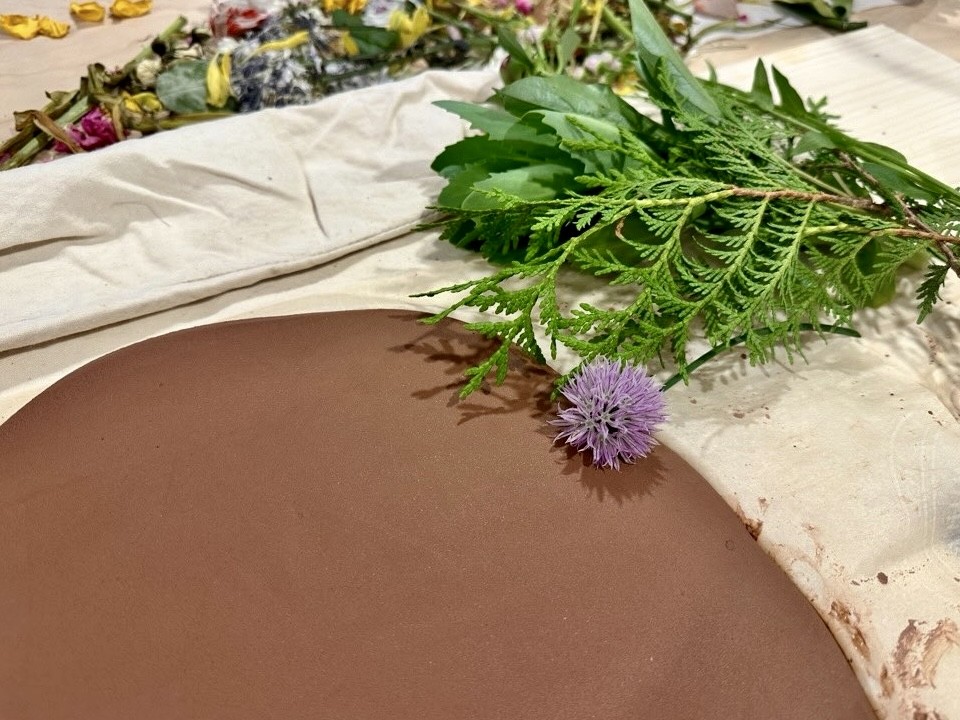
Start by selecting any plants, herbs, flowers, that you think will create nice impressions. You can also use fruits or vegetables that have interesting shapes or textures!

Next you will need clay. I have used various clays and found that some clays can be messier than others, and some work for certain projects, so try different clays to see what works best for you. You can try pottery clays, polymer clays, oil-based modelling clays, or even air-dry clays.
TIP: Place your clay on a surface where you can easily remove it when cleaning up afterwards.
Once you’ve picked out the clay you’d like to use, roll it out with a rolling pin.
Next you press your botanicals firmly into the clay of your choice. Arrange them in any way that is visually appealing to you. When you are happy with your arrangement, you can pull out the botanicals by hand or with tweezers making sure that no petals or leaves are left behind.
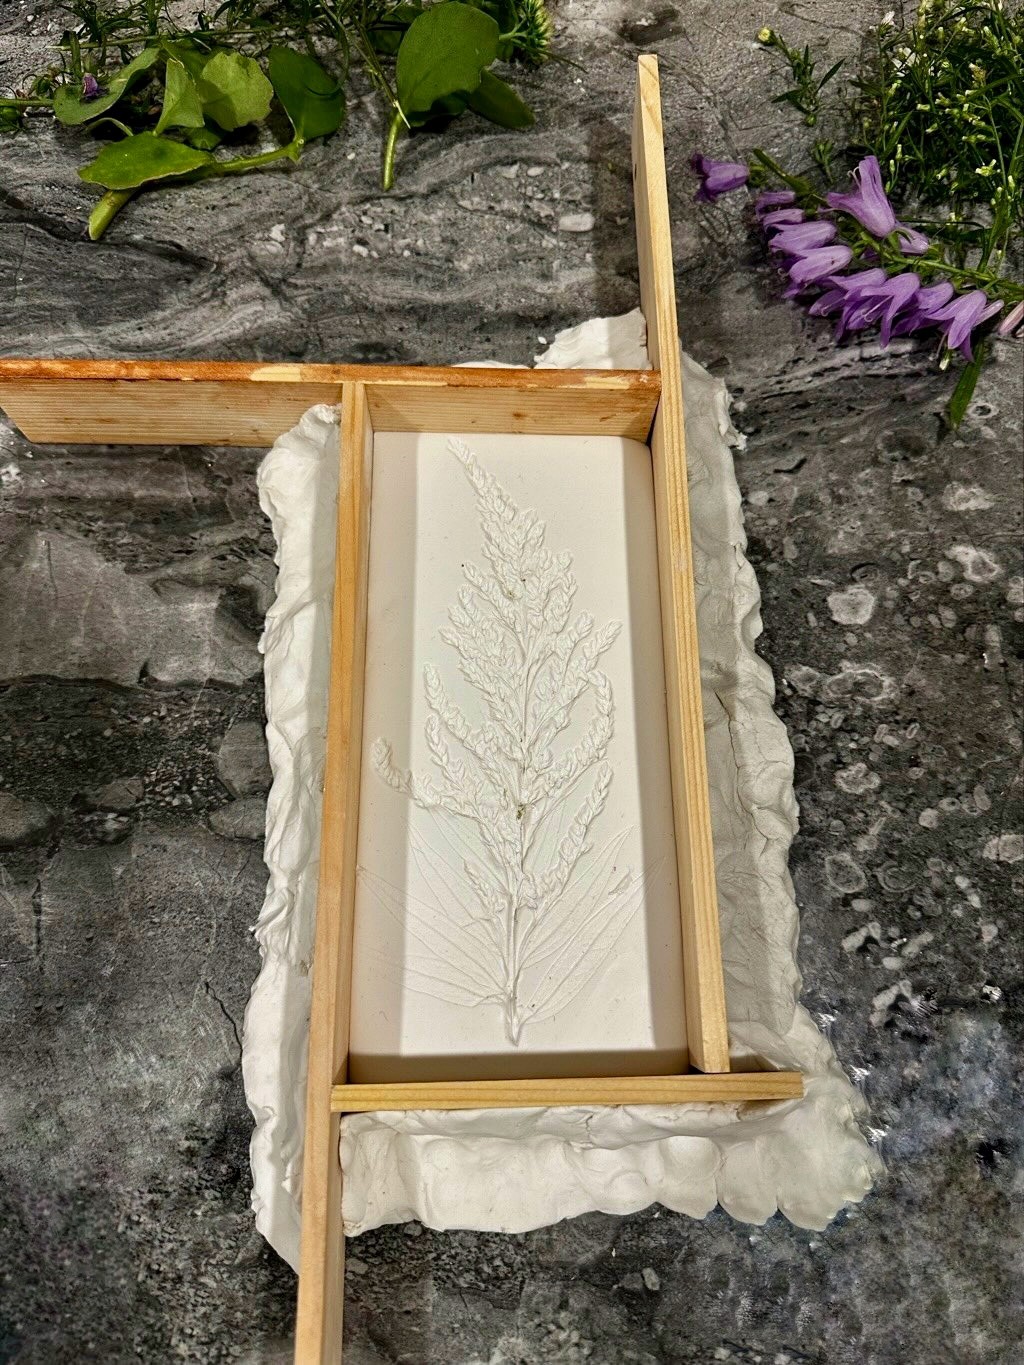
You can purchase, or even make any frame shape that you like. You can use plastic containers, or pieces of wood. You can be as creative as you like with this.
TIP: To prevent it from sticking to the clay, brush some olive oil on the frame.
You want to make sure that your frame is firmly embedded into your clay, otherwise when you pour your plaster mixture into it, you will have leaks! You can use small bits of clay to close any small openings around your frame.
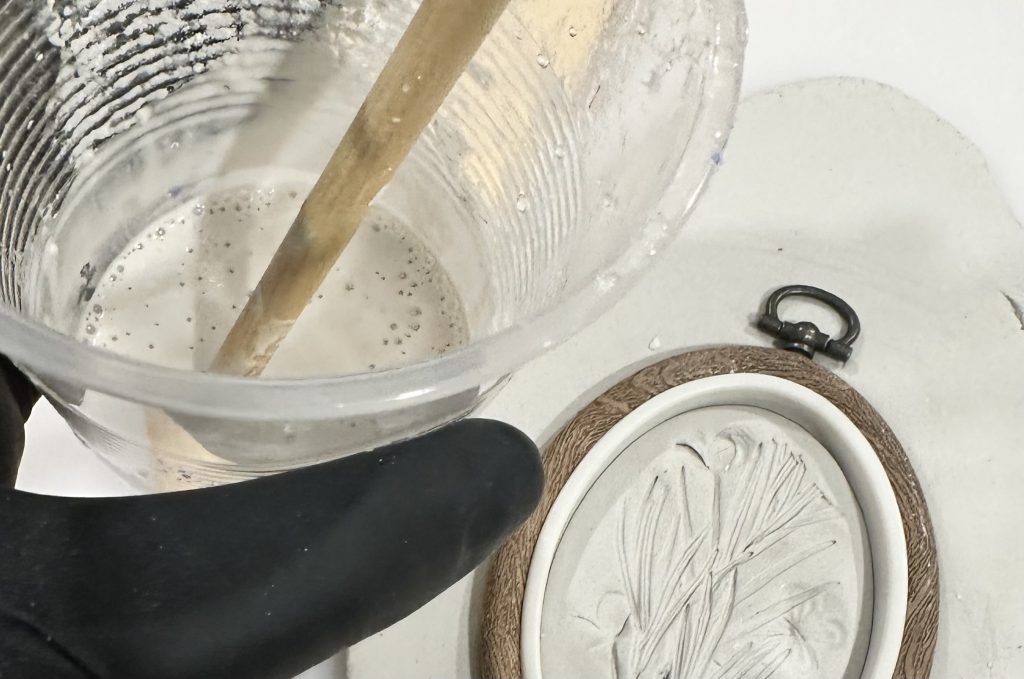
You can now mix your plaster. Please follow the instructions given for the mixing ratios of the plaster that you’ve chosen to use. It’s important that you mix your plaster well.
You can now pour your mixture inside your frame. Lightly tap the sides to release any air bubbles.
TIP: Be sure to let the plaster dry sufficiently before attempting to pull the plaster away from the clay.
Once dried, you can carefully remove the plaster cast from the clay mold. You can sand your cast to remove any imperfections or rough edges, and remember to use your PPE and be in a well ventilated area.
You can leave it in its’ natural plaster colour or paint it.
For the piece below, I used an embroidery hoop as the frame.
I painted it with acrylic paint and pastels, added some sparkles around the frame for a little extra flair, then sealed everything with an acrylic varnish. 🙂